Capturing Documents
There are many ways to save your documents to upload to the ERAP site without accessing a
scanner. In addition to .PDF files, the site accepts JPEG and PNG files, so you can use any
device equipped with a camera to take a photo of your documents.
Using an iPhone or iPad
JPEG, JPG and PDF
Using the Notes App
1.
Open Notes and select a note or create a new one.
2.
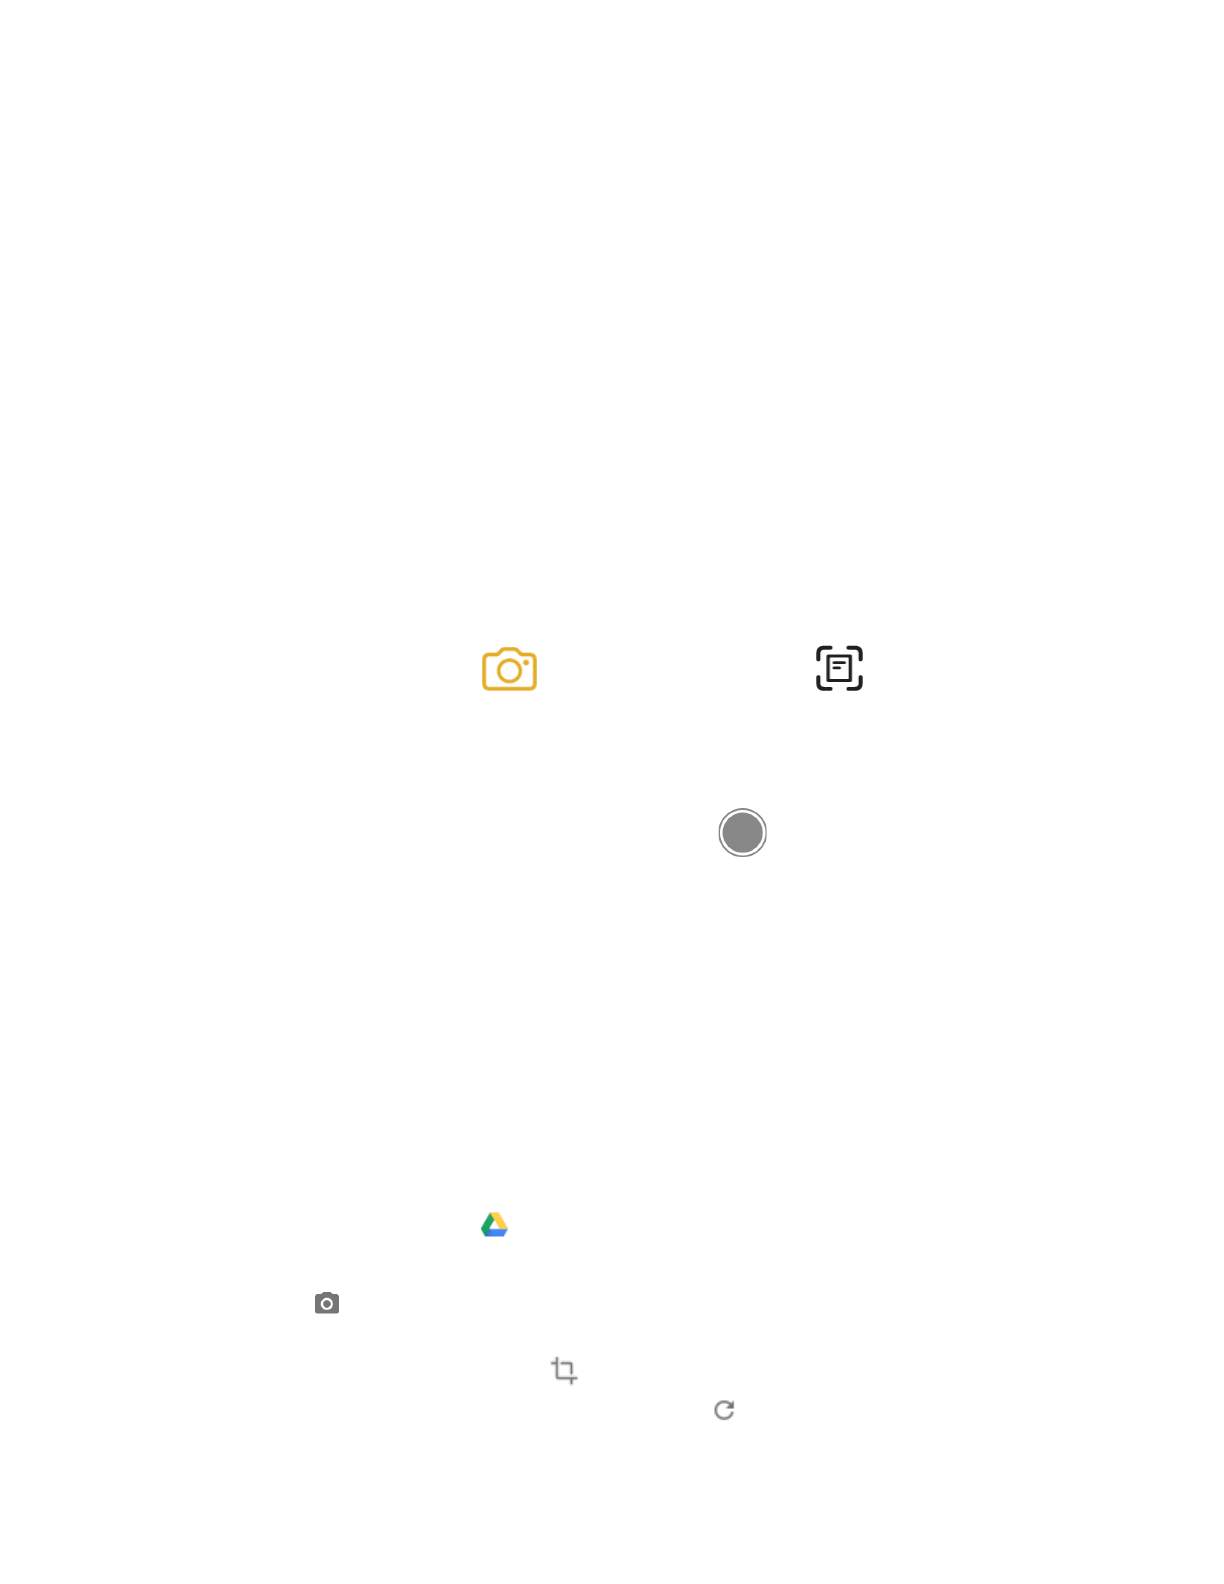
Tap the Camera button , then tap Scan Documents .
3. Place your document in view of the camera.
4. If your device is in Auto mode, your document will automatically scan. If you need to
manually capture a scan, tap the Shutter button or one of the Volume buttons.
Then drag the corners to adjust the scan to fit the page, then tap Keep Scan.
5. Tap Save or add additional scans to the document.
Android
Using Google Drive
Scan a document
1. Open the Google Drive app .
2. In the bottom right, tap Add .
3. Tap Scan .
4. Take a photo of the document you'd like to scan.
Adjust scan area: Tap Crop .
Take photo again: Tap Re-scan current page .

Scan another page: Tap Add .
5. To save the finished document, tap Done .
Add a scanning shortcut to your Home screen
To set up a shortcut to scan documents:
1. Open your Android phone or tablet’s widgets.
2. Find the "Drive scan" widget.
3. Touch and hold the widget.
4. Drag it onto your Home screen. You may be asked to select an account.
5. Choose the folder you’ll save documents inside. If you want to create a folder, tap New
Folder .
6. Tap Select. You’ll see the folder name in the widget.
Chromebook
You can use the camera on your Chromebook to take photos or videos, or edit and print photos.
Take a photo or video with your Chromebook
1. In the corner of your screen, select the Launcher .
2. Open Camera . Then, on the right side, choose an option:
Select Photo Take photo .
Select Video Start recording .
Select Square Take photo .
Change how photos or videos are captured
1. Change your settings: Select Settings . Change the size of the grid, the length of the timer,
or the camera resolution.
2. Flip your photo from left to right: Select Mirroring .
3. Use gridlines to straighten photos: Select Grid .
4. Switch between cameras: At the left, select Switch camera .
a. Tip: You can only switch cameras if you plug in an external camera or your
Chromebook has 2 built-in cameras.
5. Take photos with a timer: Select Timer .
6. Take photos with the volume buttons: When your Chromebook is in tablet mode, you can
press the up or down volume button to take a photo. Learn more about tablet mode.
7. Take a photo while you record a video: While you record a video, select Take video snapshot
.
8. Pause a recording: You can pause a recording, and continue recording on the same video
later.
a. Important: When you pause a video recording, your Chromebook will save the video
unless you delete it.
Find or save your photos or videos
1. Find your photos and videos: In the Camera app , on the bottom right, select your most
recent photo or video.
2. Find new photos and videos: In Files , select My files Camera. Older photos and
videos may be found in the "Downloads" folder. Learn how to store your downloaded files.
Edit, delete, or print your photos
1. Select the photo you want to edit.
Tip: In the Camera app , on the bottom right, you can select your most recent
photo or video.
2. Choose an option:
Rename a photo: At the top left, select the filename. To save the new name, press
Enter.
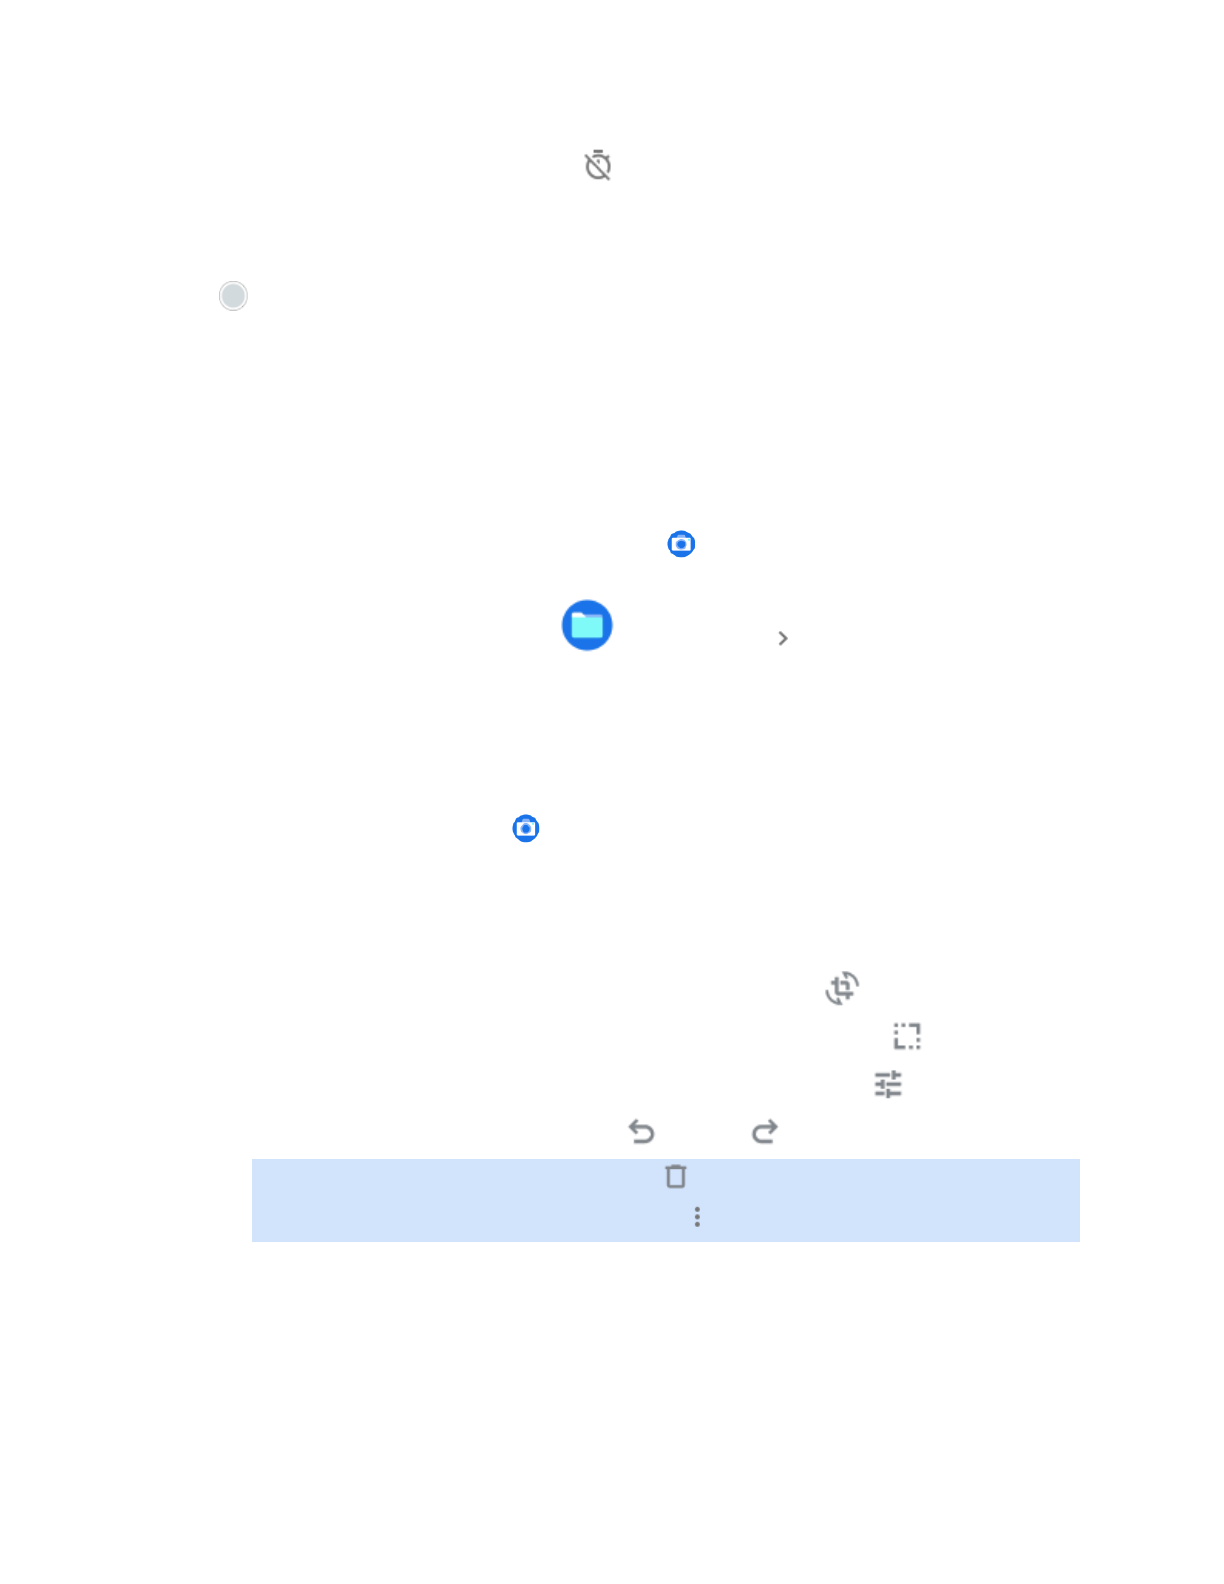
Crop or rotate your photo: At the top, select Crop & rotate .
Change your photo’s width and height: At the top, select Rescale .
Adjust contrast or brightness: At the top, select Lighting filters .
Undo or redo changes: Select Undo or Redo .
Delete a photo: At the top, select Delete .
Print a photo: At the top right, select More Print.
Tip: To do more advanced photo editing, you can use an app like Google Photos, Pixlr Editor, or Sumo
Paint
