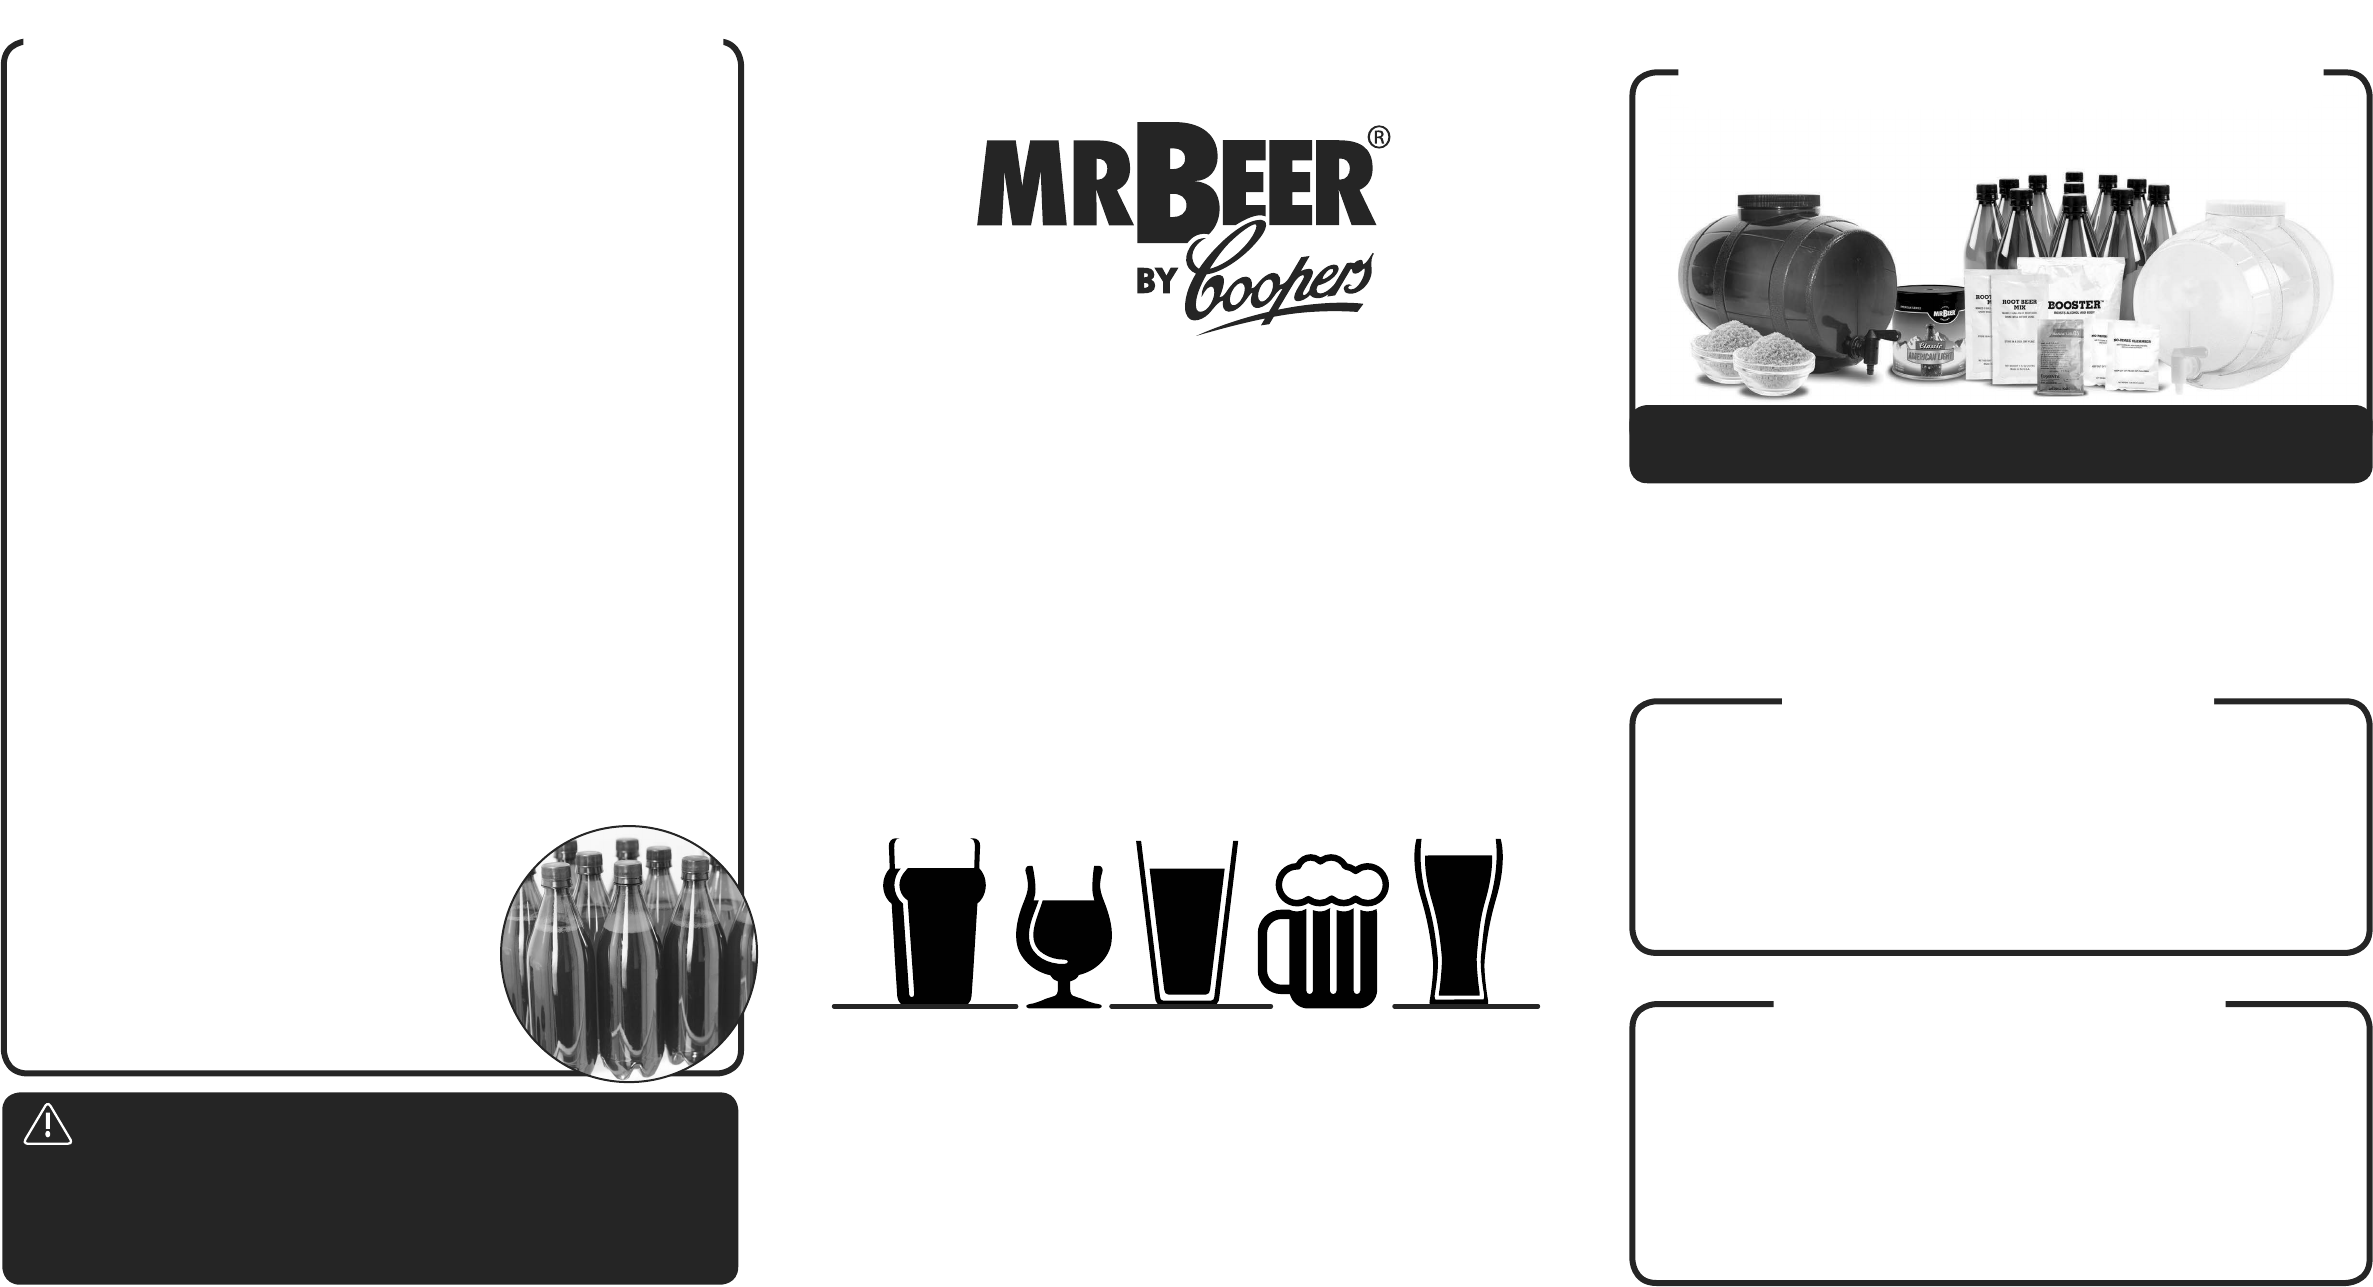
at’s Included
at You’ll Need
These instructions will familiarize you with our STANDARD BREWING
PROCEDURES of the Mr. Beer
®
Home Brewing System. Each recipe will
produce about 1 case or 2 gallons of our standard beer (approx. 5% abv) in as
little as 5-6 weeks.
Once you are familiar with the basic principles of this brewing system, you will be
able to make a wide range of other hard root beers & beers using this kit.
Warranty Information
Mr. Beer
®
guarantees all products to be free from defects in materials and workmanship
at the time of purchase. If you find the product to be defective, please contact us and
we will work with you to resolve the issue.
Find our complete Warranty and Return Policy on www.mrbeer.com.
©2015 Coopers DIY, LLC. All rights reserved.
Pricing and product availability are subject to change without notice.
Contact Us
at
www.mrbeer.com
CORPORATE OFFICE
3366 N. Dodge Blvd
Tucson AZ, 85716-1573
Phone 1-800-852-4263
Fax 1-800-949-8542
Ingredients Included:
• 1 Classic American Light
• 1 Booster
• 2 Packets Root Beer Mix
• 1 Packet Safale US-05 Yeast
• 2 Packets No-Rinse Cleanser
Optional Ingredients:
“Hack” your hard root beer the way you want with these optional ingredients.
• 1-2 Tbsp Vanilla or other avor extract (to taste).
• Honey (ex. Substitute 1 cup of sugar for 1 cup of honey – or use all honey
• Spices (add extra kick with licorice root, anise, wintergreen, etc)
Utensils Included:
• 1 Brown Keg and lid for fermentation
• 1 Clear Keg and lid for mixing
• 2 Spigot Assemblies
• 11 Plastic Bottles (PET)
• 11 Bottle Caps & Gaskets
• HACKED ROOT BEER
®
Bottle Labels
• 2-3 Cups White or Brown Granulated Sugar (to taste)*
Step 5: Bottling & Conditioning
Cap Assembly:
1. Carefully remove the rubber disks from their packing strip (The holes in the
center of the gaskets are normal. They are for releasing excess pressure
and will prevent bottle explosions or over-carbonation).
2. Insert 1 disk into each bottle cap, making sure they fit completely below
the last notch.
Bottling & Conditioning:
1. Using the spigot on the mixing keg, Fill each bottle to the middle of the
neck (about 1.5” from the top). If you need to, pour from one bottle to the
next to make sure you have an even amount in each bottle. Cap tightly
using the assembled caps.
2. You should now have approximately 11 bottles of flat hard root beer. Store
your bottles upright in a dark location with a consistent
temperature between 68° - 78° F. Carbonation should
take 5-7 days, if the temperature remains constant.
3. Check your bottles once a day. When the bottles
become firm to the touch, refrigerate your hard
root beer. When your hard root beer is cold, it’s
ready to drink. For best results, refrigerate at
least 1 full day before drinking.
Cleaning the Bottles:
1. Pour 1 cup of this solution into a large mixing bowl, place your utensils and
assembled bottle caps into the bowl and swirl liquid until all have been
wet. Set aside.
2. Fill each bottle half way with the remaining solution in the 1 gallon container.
Place your clean hand over the top of each bottle and shake a few times.
3. Remove all utensils and caps from the mixing bowl, and place on a clean
paper towel.
4. Empty solution from bottles, bowls and 1 gallon container. No rinsing is
required!
Hacked Root Beer t
Instructions
Please Read!
The most critical step in making your root
beer is refrigerating at the correct time.
Refrigerating too soon will result in under carbonated root beer, but it will still
taste good; too late will cause over carbonation, which will cause off flavors. When
the carbonation is right, you should be able to push the sides of the bottles in a
little. Hard bottles mean over carbonated root beer! After carbonation has been
completed, KEEP YOUR HARD ROOT BEER REFRIGERATED AT ALL TIMES!!
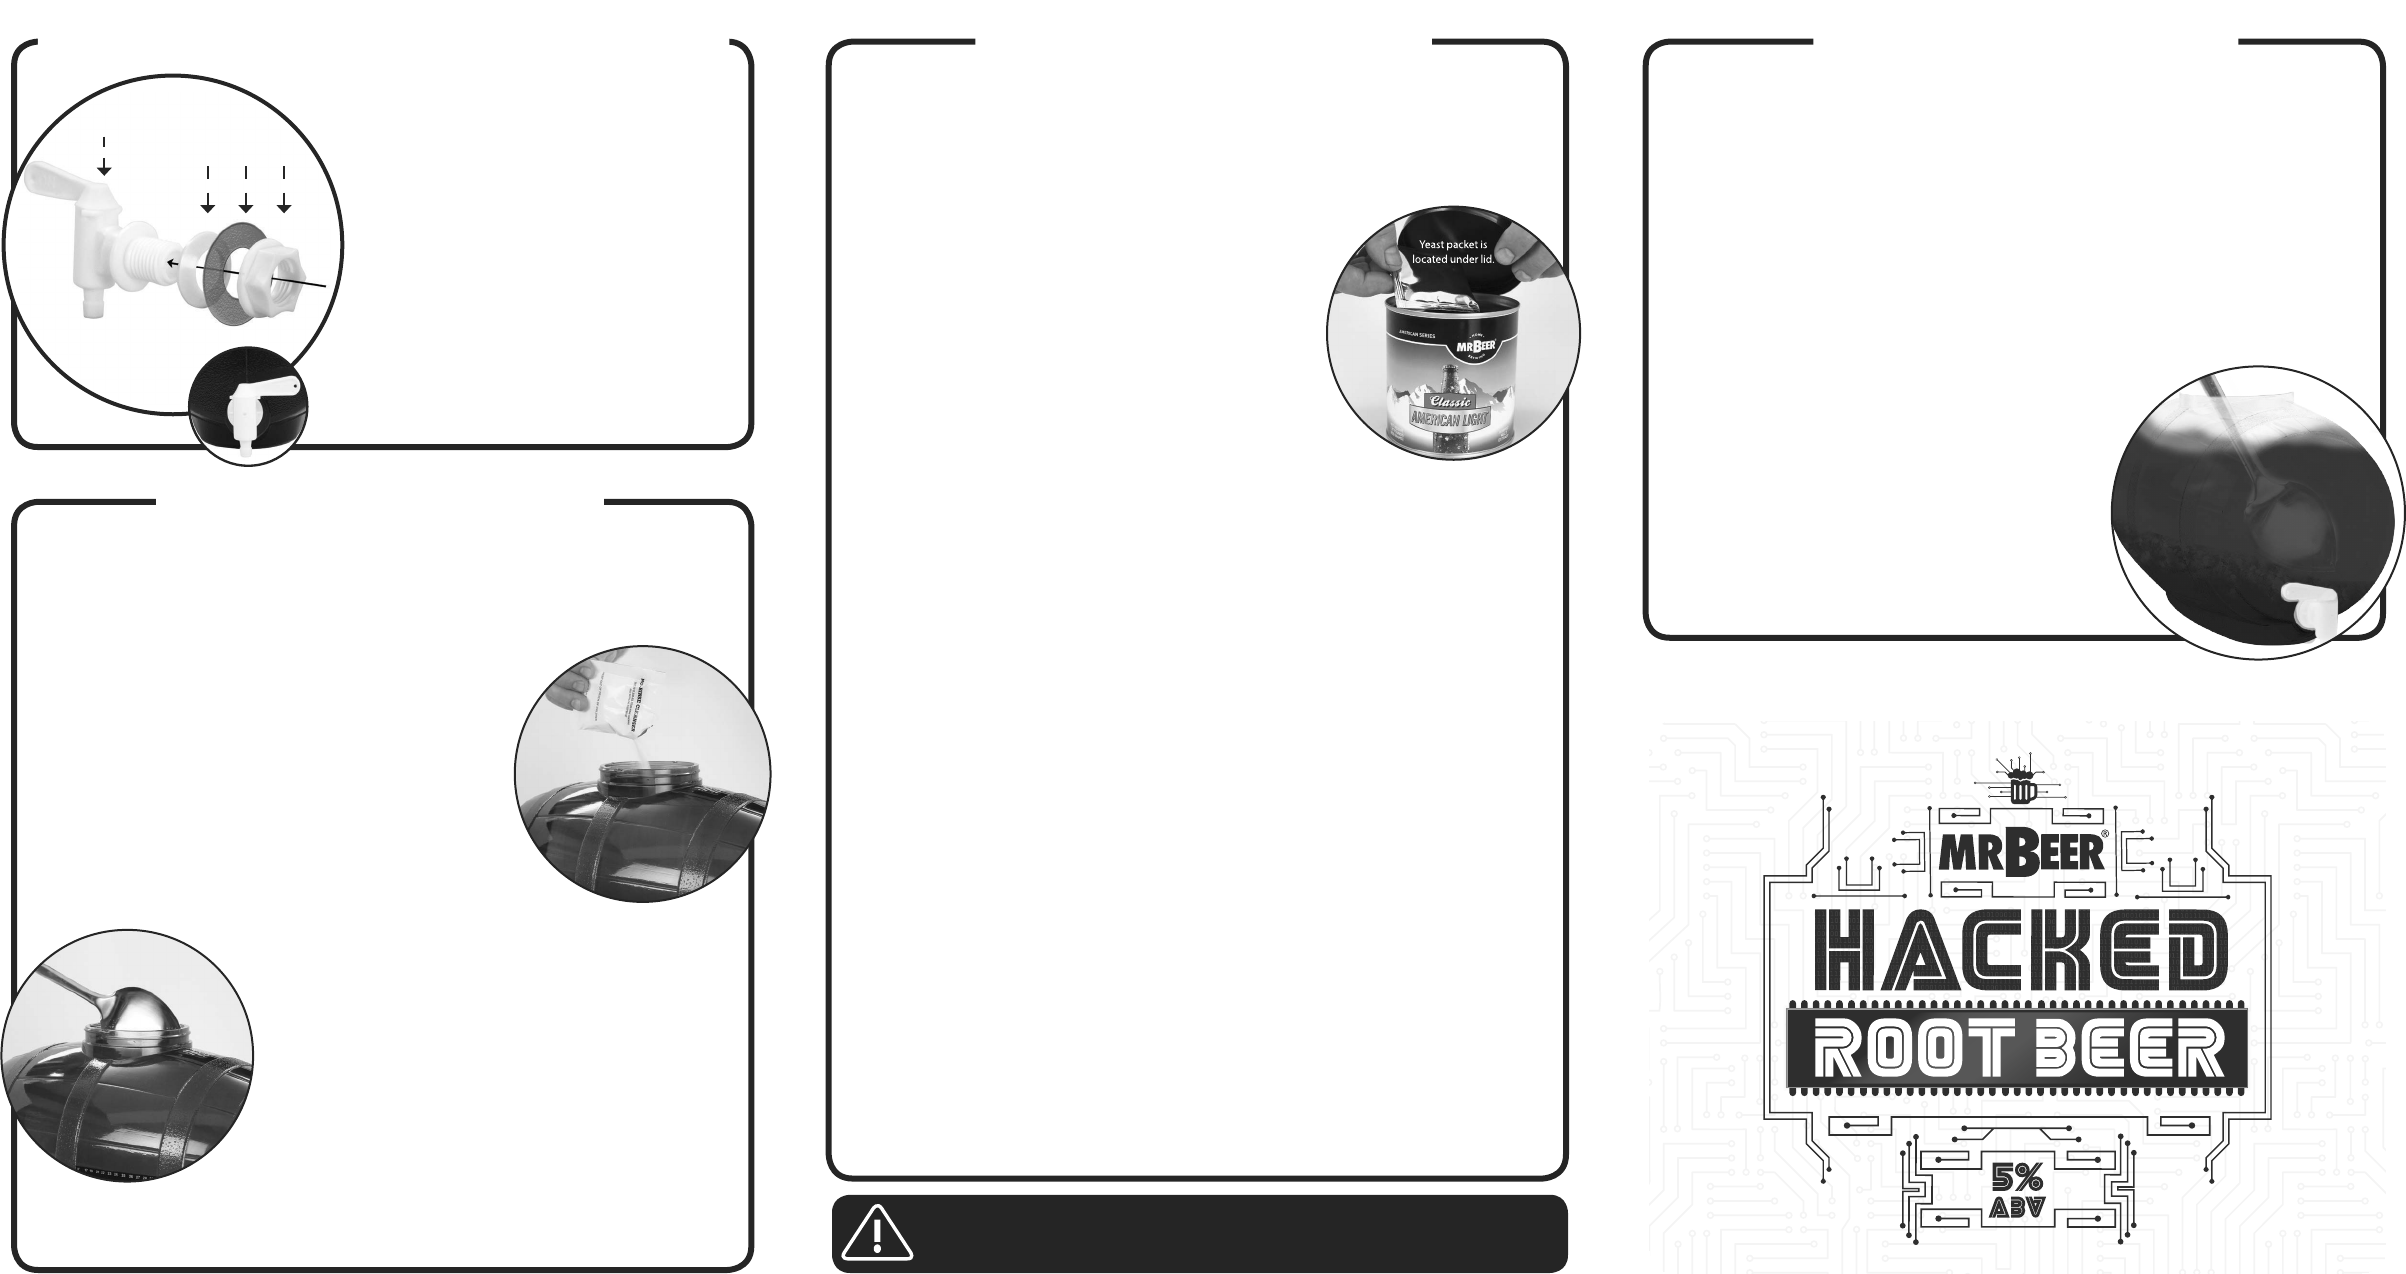
Spigot
Washer Keg Wall Nut
Step 1: Assembling the Spigot
Step 2: Cleaning
Step 3: ewing Step 4: Mixing
1. Place washer on the spigot with the
beveled (narrower) edge facing the
threads, then insert spigot into keg.
Washer is outside of keg. Place
the nut with the wide flat side against
the inside keg wall and gently hand
tighten.
DO NOT OVER TIGHTEN.
2. Fill the keg with water then let the keg sit
for at least 15 minutes to test for leaks
no longer than 30 minutes, maximum.
3. Apply Mr. Beer
®
label to front of keg.
(Optional)
1. Remove the yeast packet from under the lid of the
can of Brewing Extract and set aside (Do not use
this yeast), then place the unopened can in hot
tap water.
2. Using the measuring cup, pour 4 cups of water
into your clean 3-quart or larger pot. Open
Booster packet and pour into the water. Stir until
Booster is dissolved.
3. Bring water to a boil, and then remove from heat. Open
the can of Brewing Extract and pour it into the hot water while stirring.
Continue to stir until thoroughly mixed. This mixture of unfermented beer is
called “wort”.
4. Fill keg with cold tap water to the line mark 1 on the back.
5. Pour the wort into the keg, and then bring the volume of the keg to the line
mark 2 by adding more cold water. Stir vigorously with the spoon or whisk.
TIP:Forbestresults,usebottledspringwaterorcharcoal-lteredtap water between 40° and 60° F.
6. Sprinkle the US-05 yeast packet into the keg, and screw on the lid.
Do not stir.
7. Put your keg in a location with a consistent temperature between 68° and
76° F (20°-25° C) and out of direct sunlight. Ferment for 2 - 3 weeks then
proceed to Step 4.
1.
To the sanitized mixing keg (refer to Step 1 for sanitation instructions),
add the desired amount of sugar for sweetness.
2. With the fermenter placed in a location slightly higher than the mixing keg,
carefully transfer the beer from the fermenter to the mixing keg using the
spigot.
3. Add the packets of root beer extract.
4. Stir gently until sugar is dissolved.
Proceed to Step 5.
*The root beer extract may permanently
infuse the aroma of root beer into the mixing
keg and bottles so it is recommended that
these items are not used for anything else, but
your hard root beer.
1. Fill clean keg with warm water to the line mark 1
on the back, then add ½ pack (about 1 tablespoon)
of No-Rinse Cleanser and stir until dissolved. Once
dissolved, the solution is ready to use.
2. Screw on lid and swirl the keg so that the cleaning
solution makes contact with the entire interior of the
keg, including the underside of the lid. Allow to sit for
at least 2 minutes, and then swirl again.
3. Dispense all of the sanitizing solution into a large bowl.
Place your spoon, can opener, and measuring cup
into the bowl to sanitize and keep them sanitized
throughout the brewing process. Allow 2 minutes in
sanitizing solution before using utensils.
4. After all surfaces have been thoroughly sanitized,
do not rinse or dry the fermenter or utensils. Proceed
to Step 3.
Cleaning is an essential step in the brewing process because it kills microscopic
bacteria, wild yeast and molds that may cause off flavors in your beer. YOU MUST
CLEAN ALL EQUIPMENT THAT COMES IN CONTACT WITH YOUR BEER.
Now, you’re ready to brew!
Brewing beer is the process of combining a starch source (in this case, a malt
brewing extract) with yeast. Once combined, the yeast eats the sugars in
the malt, producing alcohol and carbon dioxide (CO2). This process is called
“fermentation”.
After approximately 24 hours, you will be able to see the fermentation process
happening by shining a flashlight into the keg. You’ll see the yeast in action in the
wort. The liquid will be opaque and milky, you will see bubbles rising in the liquid, and
there will be bubbles on the surface.
Your fermentation will usually reach its peak in 2 to 5 days (this is also known as “high
krausen”). You may see a layer of foam on top of the wort, and sediment will accumulate
at the bottom of the fermenter. This is totally normal. Complete fermentation will take
approximately 2 - 3 weeks.
After high krausen, the foam and activity will subside and your batch will appear to
be dormant. Your beer is still fermenting. The yeast is still at work slowly finishing the
fermentation process.
After fermentation has completed, you will need to add sugar and root beer
extract to the fermented beer using the clear mixing keg (Sanitize this keg
using the 2nd half of your No-rinse Cleanser using Step 2).*
Caution:
DO NOT OPEN THE BREW KEG LID AT ANY TIME DURING
THE FERMENTATION PROCESS; THIS CAN CAUSE ROOT BEER SPOILAGE.
