
Mono Basin
Mixer Tap
Installation
Guide

Installation Guide
Pre Installation Notes
To maintain the tap’s appearance, please ensure it is cleaned regularly using a
clean so damp cloth only. Abrasive cleaners or detergents must not be used
as they may cause surface deterioration.
Bathroom products are vulnveratble to household acid damage. Products
like hair dye, disinfectants, denture cleaner etc may contain acids that maybe
harmful to your product. Contact with these should be avoided.
Important Information
Installation Guide
Mono Basin Mixer Tap
0
2
1
3
5
7
9
4
6
8
10
bar psi
0
145
25
50
100
125
75
Max Pressure
5 Bar

Installation Guide Mono Basin Mixer
Diagrams are for illustration purposes only. Your tap may supercially dier
from this drawing, however the installation guide steps still apply.
O Ring
Spigot
Brass Nut
Rubber Horseshoe
Washer
Tap
Metal Horseshoe
Washer
Hot Tap Tail
(RH)
Cold Tap Tail
(LH)
Tap
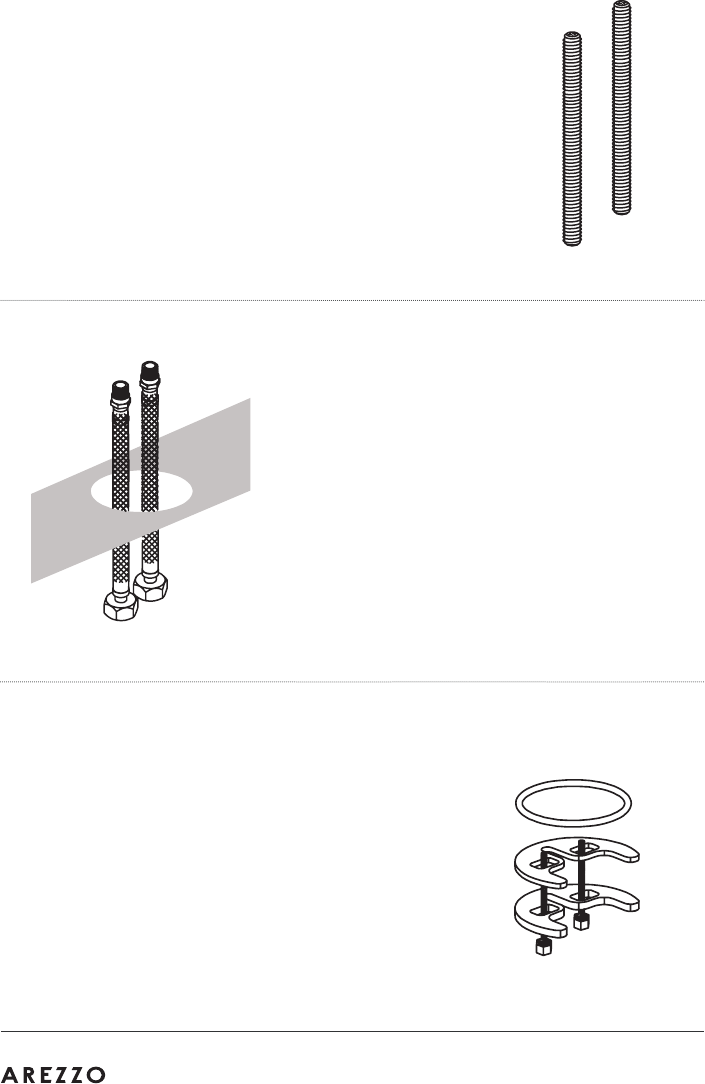
Step One
Screw the threaded spigot bars into their locator
holes on the underneath of the tap body.
Step Two
Feeding them through from underneath
the sink hole, t the water inlet exi tail(s)/
connector(s) by hand to the tap body.
Note: Do not over tighten.
Step Three
Carefully assemble new tting onto sanitary
ware xing the rubber and metal horseshoe
washers to the underneath of the basin. Do
not overtighten as this may cause damage to
the tting and the sanitary ware. Remember
to install the O ring, collar and washer (where
applicable) between the tap body & sanitary
ware.
Installation Guide

Step Four
Connect exi tail(s)/inlet connector(s)
to the mains water feed. The hot supply
should be connected to the le-hand side
when viewing the installation from the
front.
Step Five
Place the tap handle in the ‘Open’ position
and turn on the water supply. Allow the tap
to run for 90 seconds to clear any debris
from inside. Use this time to identify any
wet areas or potential leaks.
Step Six
Turn tap handle to ‘Closed’ position.
Installation Guide Mono Basin Mixer

Installation Guide Mono Basin Mixer
