
Revised July 2018
Saving Graphs
This set of notes shows how to save a graph generated in Stata. As noted in the “Creating a Log
File” handout, log files record all your Stata commands and output in a given session but do not
save graphs. This handout assumes that you have set Stata up on your computer (see the “Getting
Started with Stata” handout), and that you have read in the set of data that you want to analyze
(see the “Reading in Stata Format (.dta) Data Files” handout).
In Stata, most tasks can be performed either by issuing commands within the “Stata command”
window, or by using the menus. These notes illustrate both approaches, using the data file
“GSS2016.DTA” (this data file is posted here: https://canvas.harvard.edu/courses/53958).
You can save graphs generated in Stata as many different formats (see:
https://www.stata.com/manuals13/g-2graphexport.pdf) but it is recommended to save graphs as
Portable Network Graphic (PNG) files (.png extensions). This format should work on both PCs
and Macs.
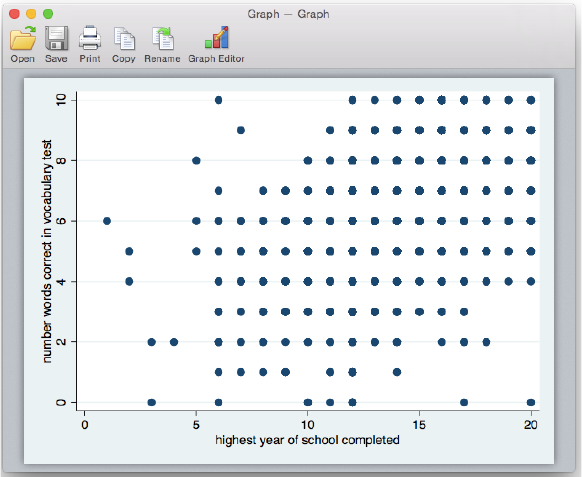
After you generate a graph in Stata, for example, a scatterplot of number of words correct on a
vocabulary test and years of schooling (scatter wordsum educ), you issue the following
command
graph export ”filepath & filename”
in the Stata Command box.
On a PC:
If one wanted to save a scatterplot as a PNG file on hard disk C:, in the folder “GRAPHICS”,
one would type
graph export "C:\GRAPHICS\scatter_vocabeduc.png"
On a Mac:
If one wanted to save a scatterplot as a PNG file in user1’s folder on the hard drive, in the
folder “graphics”, one would type
graph export "/Users/user1/graphics/scatter_vocabeduc.png"
Note: PC file paths use a backslash whereas Mac file paths use a forward slash.
If you would like to replace an existing graph with a newer version, add “replace” after the file
name (Note: PC file path):
graph export "C:\GRAPHICS\scatter_vocabeduc.png", replace
2
Alternatively, you can save the graph using the menus in the “Stata Graph” window. To save the
graph, click the “Save” option. To immediately print the graph you generated, click the “Print”
option. To copy the graph to the clipboard, click the “Copy” option. See below for an image of
the Stata Graph window with the different menu options.
