89 Creek Connections, Allegheny College, Meadville, PA
How to use…
Orthophosphate Kit (Hach Model PO-19)
INSTRUCTION SHEET
Testing Location – Field or Laboratory
If the water sample is taken back to the laboratory or classroom, the phosphate test should
be conducted within 24 hours for best results. Store samples in the refrigerator until testing.
Testing Background
Phosphorus occurs in two forms: organic and inorganic phosphates (PO
4
-
). Our tests kits
measure for inorganic phosphate (also know as orthophosphate, reactive phosphate, or free
phosphate). Total phosphates (both inorganic and organic) are available, however, they are
expensive and require using a heating apparatus.
For our test kit, there is a low range (0-1 mg/L), mid range (0-5 mg/L; best for 1-5 mg/L),
and high range (0-50 mg/L; best for 5-50 mg/L). Most schools will use the low range test and
should start with those instructions below. If the high-range test is needed, refer to the
instruction in the HACH kit.
Materials
PhosVer 3 Phosphate Reagent Powder Pillows
Color comparator with viewing adapter (mirror) and blue shaded color disc
2 square mixing bottles
4 test tubes (plastic or glass) with stoppers
Test Instructions – Low Range Test (0-1 mg/L) – START WITH THIS TEST RANGE
1. For both Sample A and Sample B: Fill the square bottle to the 20 mL mark with the sample
water.
2. Add the contents of one PhosVer 3 Phosphate Reagent Powder pillow to the bottle and swirl
(not shake) to mix. Allow at least eight but no more than ten minutes for full color
development. If phosphate is present, a blue-violet color will develop. While you wait,
proceed to step 3 and 4.
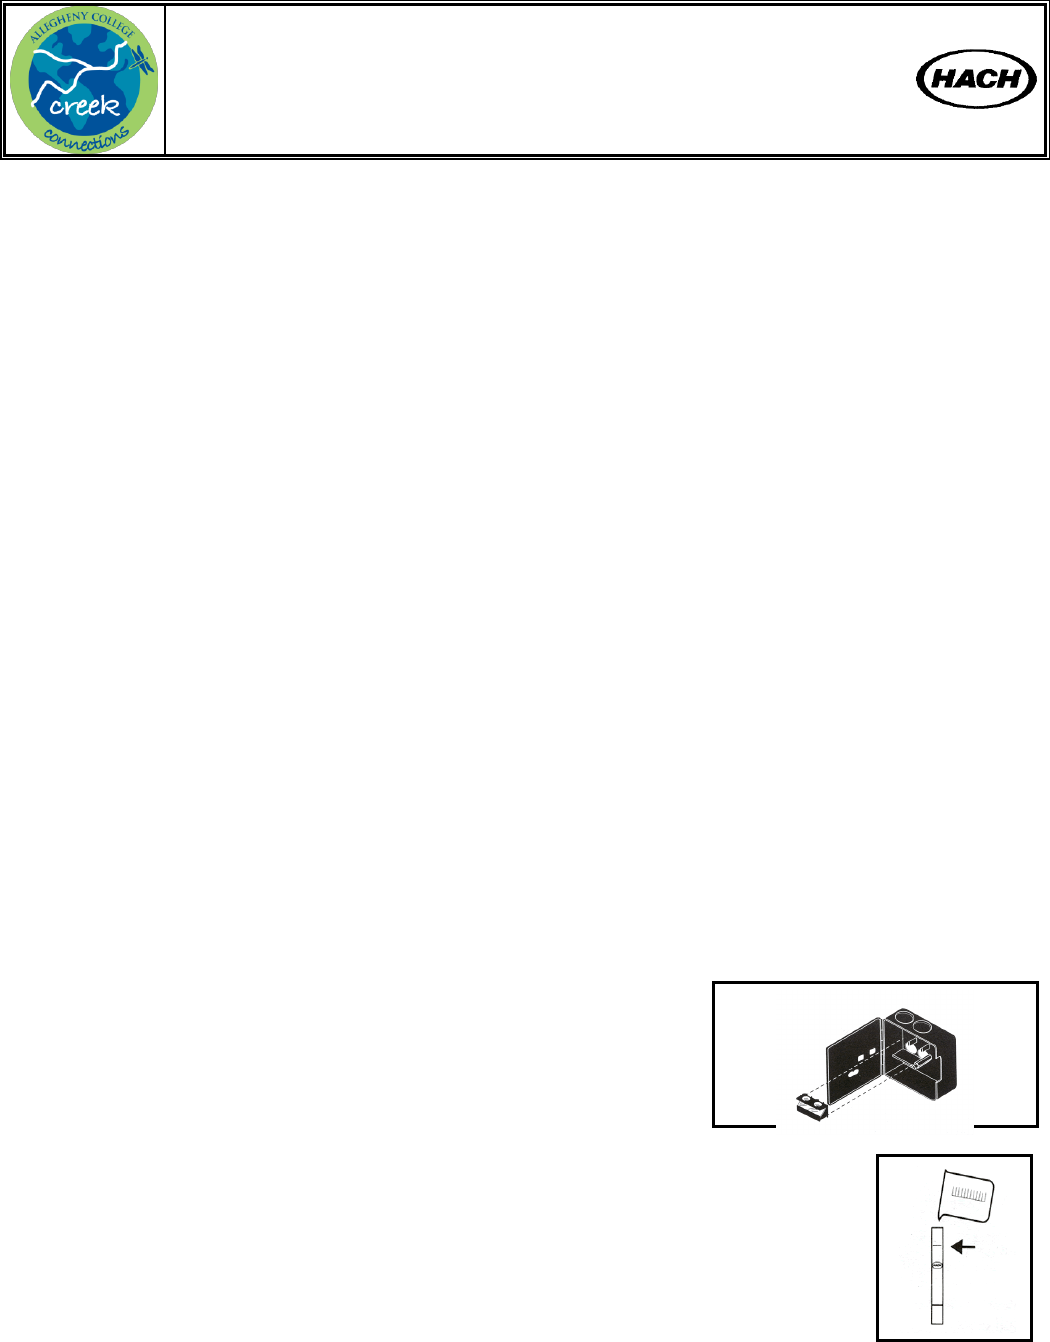
3. If not already done, place the Long Path Viewing Adapter (the
little mirror holder) onto the shelf in the black comparator box
with the mirror angled outward. Also insert the blue shaded
color disk so that you can read the numbers through the slit on
the front of the black comparator box.
4. With untreated sample water, fill a clean test tube to the top line (1 cm below
the top). If it is a glass test tube, the line is labeled 1730; plastic test tubes have
no label. Place this tube (with no stopper) in the outermost opening of the
color comparator.
5. After eight minutes has elapsed, fill an empty test tube to the highest line (1 cm
below the top) with the prepared sample from the square bottle. Place this tube
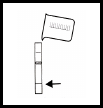
Creek Connections, Allegheny College, Meadville, PA 90
(with no stopper) in the central opening of the viewing comparator. Hold the comparator up
to a light source (sky, window, or lamp) being careful not to spill the samples. View the test
tubes through the openings on the front of the comparator box. Rotate the disc to obtain a
color match.
Note: The color may be very faint or nonexistent. So if you are sure you followed the directions correctly, there
just may not be any phosphate in the sample or the amount is too small for this test kit to detect.
6. Read the concentration of the measured parameter through the scale window. Divide this
number by 50 to obtain the mg/L phosphate (P0
4
3-
). Divide the phosphate value by 3 to
obtain the value as mg/L phosphorus (P). [Total division is by 150 like done on the data
sheet]. Record this value on the data sheet. Rinse all glassware with distilled water.
Note: If the color developed is so dark as to be off the high end of the scale (greater than 1 mg/L phosphate or
.33 mg/L phosphorus), proceed to the mid range (0-5 mg/L) test instructions.
Test Instructions – Mid Range (0-5 mg/L; best used for 1-5 mg/L)
1. Remove the Long Path Viewing Adapter (mirror) from the color comparator box.
2. With sample water, fill a clean test tube to the first line (5 mL) at the bottom.
3. Add the contents of one PhosVer 3 Phosphate Reagent Powder Pillow to the test
tube. Swirl to mix. Wait at least one minute for full color development (blue-violet). You
must make the color comparison within 5 minutes. This test tube (no stoppers) goes in the
central opening of the color comparator box.
4. With untreated sample water, fill another clean test tube to the first line (5 mL) at the
bottom. Place this test tube (no stoppers) in the outermost opening in the color comparator.
5. Hold the comparator up to a light source (sky, window, or lamp) being careful not to spill
the samples. View the test tubes through the openings on the front of the comparator box.
Rotate the disc to obtain a color match.
6. Read the concentration of the measured parameter through the scale window. Divide this
number by 10 to obtain the mg/L phosphate (P0
4
3-
). Divide the phosphate value by 3 to
obtain the value as mg/L phosphorus (P). [Total division is by 30 like done on the data
sheet]. Record this value on the data sheet. Rinse all glassware with distilled water.
Note: If the color developed is so dark as to be off the high end of the scale (greater than 5 mg/L phosphates or
1.66 mg/L phosphorus), use the high range (0-50 mg/L) test instructions in booklet supplied by Hach in the test
kit.
Disposal and Clean Up
Empty remaining sample into a waste container to take back to the classroom. At school,
the waste from this test can be flushed down the sink with plenty of water. Rinse all glassware
with distilled water.
Safety Precautions:
The chemical in this kit may be hazardous to the health and safety of the user if
inappropriately handled. Please read the warning on the package before performing the test. Use
appropriate safety equipment and normal precautions.
This test sheet was adapted from the HACH Company (Loveland, Colorado) Orthophosphate Test Kit Model PO-19/PO-19A.
