Prepared by Health Sciences Library (Revised 9/10)
Updated 2/16 by the Graduate School
© University of Cincinnati
Poster Tips ..................................................................................................................................... 2
Creating a Poster in PowerPoint 2010 ........................................................................................ 6
Poster Printing Information Sheet ............................................................................................... 8
Introduction
Volutpat mos at neque
nulla lobortis
dignissim conventio,
torqueo, acsi roto
modo. Feugait in obruo
quae ingenium
tristique elit vel natu
meus. Molior torqueo
capio velit
loquor aptent ut lorem
erat feugiat pneum
commodo vel obruo
mara genitus. Suscipit,
vicis praesent erat
feugait epulae, validus
indoles duis enim
consequat genitus at.
Sed, conventio, aliquip
accumsan adipiscing
augue blandit minim
abbas oppeto
commoveo.
Methods
Loquor aptent ut lorem
erat feugiat pneum
commodo vel obruo
mara genitus. Suscipit,
vicis praesent erat
feugait epulae, validus
indoles duis enim
consequat genitus at.
Sed, conventio, aliquip
accumsan adipiscing
augue blandit minim
abbas oppeto
commoveo.
Conclusions
Dignissim conventio,
torqueo, acsi roto
modo. Feugait in obruo
quae ingenium
tristique elit vel natu
meus. Molior torqueo
capio velit
loquor aptent ut lorem
erat feugiat pneum
commodo vel obruo
mara genitus. Suscipit,
vicis praesent erat
feugait epulae, validus
indoles duis enim
consequat genitus at.
Sed, conventio, aliquip
accumsan adipiscing
augue blandit minim
abbas oppeto
commoveo.
Results
Dignissim conventio,
torqueo, acsi roto
modo. Feugait in obruo
quae ingenium
tristique elit vel natu
meus. Molior torqueo
capio velit
References
Loquor aptent ut lorem erat
feugiat pneum commodo
vel obruo mara genitus.
Suscipit, vicis praesent erat
feugait epulae, validus
indoles duis enim consequat
genitus at. Sed, conventio,
aliquip accumsan adipiscing
augue blandit minim abbas
oppeto commoveo.
Conference poster
presentation
Karen Travis, MD
Department of Neurology, University of Cincinnati

Prepared by Health Sciences Library (Revised 9/10) © University of Cincinnati
2
Poster Tips
Before Starting
Ask the conference organizers poster size requirements.
Here are some guidelines for poster sizes:
o 18" x 24" for easel signs
o 36" x 48" for small posters
o 48" x 60" for typical posters
o 48" x 96" for really big posters
If you are working with a design service, contact them early to coordinate the job.
Allow plenty of time to create the poster.
Do not switch back and forth between a Mac and PC. Formatting problems can
occur.
Page Setup
Always set your PowerPoint page size before you start designing the poster!
Consult with your printer about the best way to set up the page size.
If you change the size after you have already added content it may become distorted.
The largest page size PowerPoint can accommodate is 56 inches. If your poster
must be larger than that, design it proportionally. For example for a 48" x 72"
poster, set the PowerPoint page size to 24" x 36." You are designing it in half the
actual size. The printer will blow it up 200%, giving you a 48 x 72 inch poster in the
end. This is why you must check with your printer first – see what proportion their
printer can blow up. Some printers use 400%.
Layout
Divide the poster into columns (3-5 across, depending on poster size).
Use headings to identify sections.
Avoid long stretches of text.
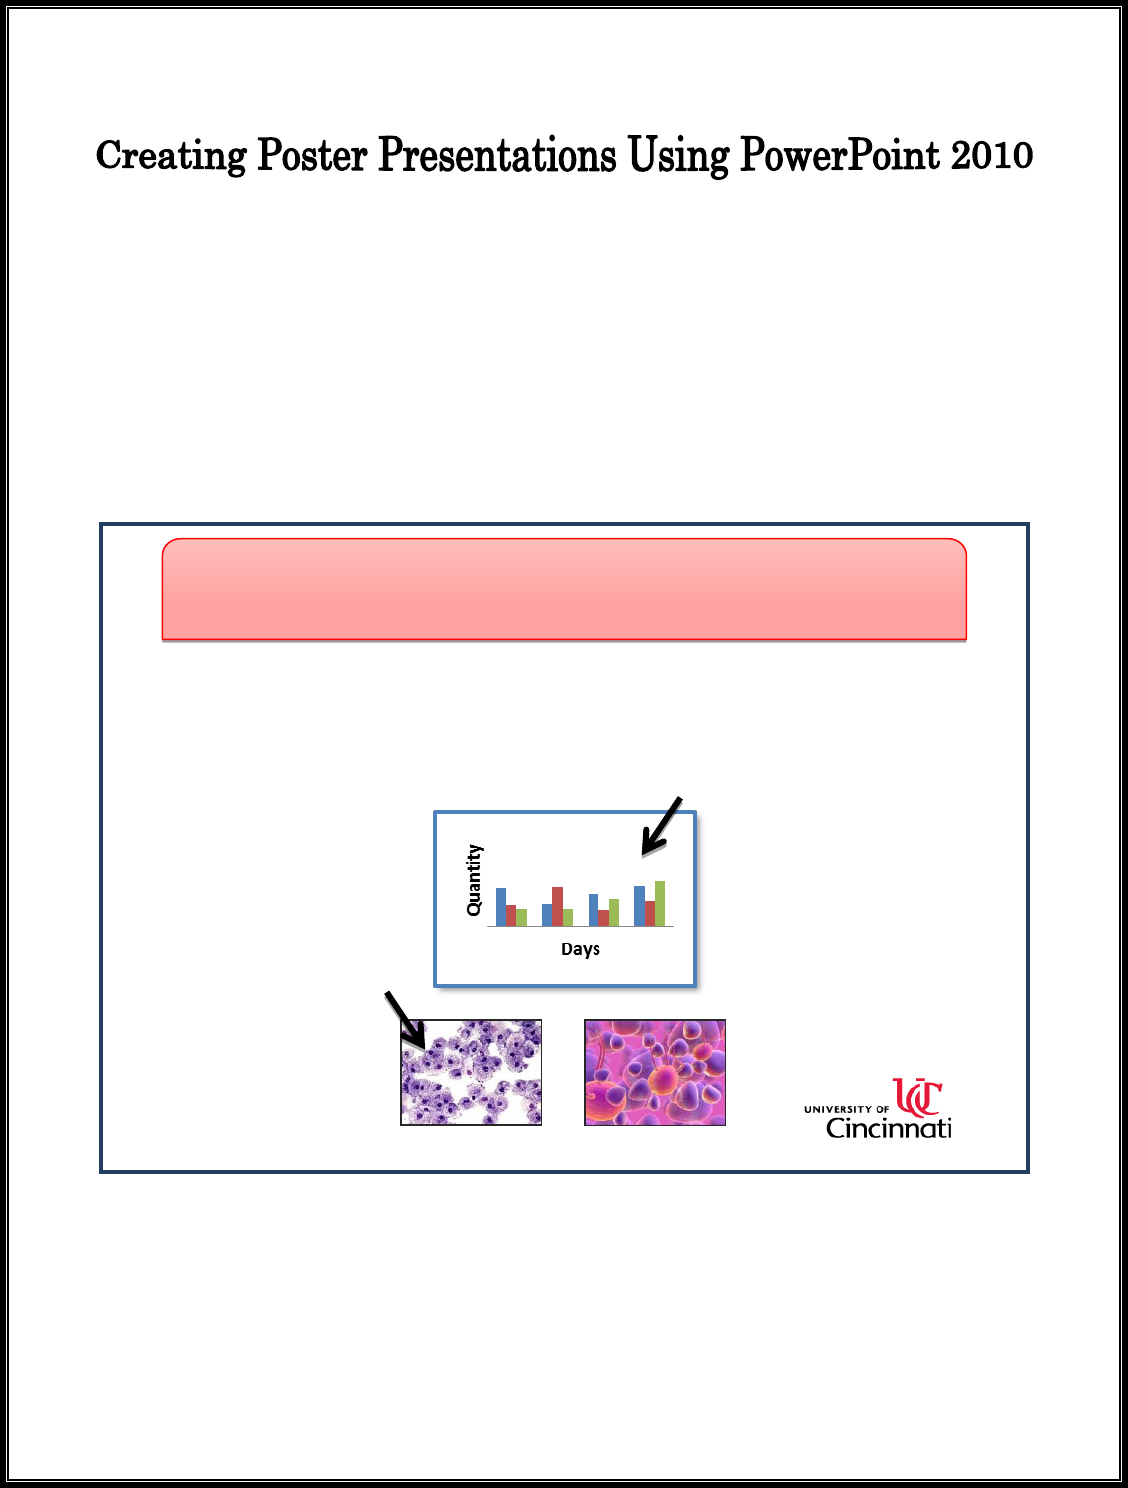
Break up text with pictures, tables, figures, etc. For visual appeal and to save space,
use graphics instead of text to illustrate points.
Blank space should make up at least 35% of your poster.
Content
Viewers should be able to scan material quickly. You have about 3 seconds to
attract viewers!
A poster is not an enlarged journal article—be brief, concise, and don’t overwhelm
viewers with too much information.
Use short sentences or bulleted text.

Prepared by Health Sciences Library (Revised 9/10) © University of Cincinnati
3
Standard Components
University branding (For branding standards, go to:
http://www.uc.edu/content/dam/uc/ucomm/docs/UCBrandingStandards.pdf)
Title with authors’ names, credentials, and affiliations
Typical headings:
o Introduction
o Methods
o Results
o Conclusions
o References
o Acknowledgement of funding source if applicable
Style
Use sans serif fonts for titles and headings (for example, Arial, Franklin Gothic,
Helvetica, Tahoma, Trebuc het or Verdana).
Use serif fonts for the body (for example: Times New Roman, Palatino).
Do not use all CAPS, as it is hard to read. Try to use “Sentence case.”
Text should be legible from three to five feet away. Title font size should be about
100 points or larger and text 24 points or larger. However, font size is about
judgment and what looks best with your poster.
Graphs and tables should be large (minimum of 8.5 x 11 inches is preferable).
Colors
Color should be used to unify the poster.
Choose 2 or 3 colors and keep them consistent.
Use strong, primary colors.
Use color to highlight keywords in text. However, most text should be black.
Backgrounds should be plain (white is a good choice). Avoid backgrounds with
patterns or gradients – sometimes they do not print well.
Graphics
Graphics can be tricky.
Just because it looks good on the screen does not mean it will print well!
Graphics should have a resolution of at least 300dpi.
Try to avoid using screen shots – they are usually 72 dpi – screenshots are
extremely pixilated (blurry) when printed on a large poster.
DO NOT make graphics larger by stretching them on the screen. They will not look
good. Size and resolution must be captured at origination (i.e.: scanning at a high
resolution).
Excel graphs and clip art are okay to manipulate because they are different types of
graphics than digital photos or scanned images.

Prepared by Health Sciences Library (Revised 9/10) © University of Cincinnati
4
Consider putting a thin border around each graphic – it makes them look better.
Suggested Handouts
Summary or small printout of the poster
Copies of important figure(s)
Business cards
Reference list
Other Considerations
Lamination will protect your poster.
Prepare a 3 to 5 minute verbal description of your poster.
Use a poster tube with your business card on the outside.
Don’t check your poster tube as baggage when traveling to the session by plane, if
possible.
Bring pushpins and tape.
Have a notebook and pen to write notes.
Choose clothing colors that coordinate with your poster.
Your poster might be freestanding – that is – don’t count on having a table to rest
things on!
Poster Services at UC
DAAP Computer Graphics Center http://daap.uc.edu/about/facilities/cgc.html/
Design Services http://www.uc.edu/ucomm/design_copywriting.html
Art & Design Services http://healthnews.uc.edu/communications/artdesign/
o Poster Session Templates http://healthnews.uc.edu/branding/
CECH Library http://www.libraries.uc.edu/cech/Services/poster-printing.html
Check with individual departments/colleges for additional options.
After the Poster is Finished…Before the Presentation
Spend time before the session thinking about how to present the material.
o Be able to summarize the poster’s key points and conclusion(s) in 2-3
sentences.
o Prepare several versions of your remarks lasting from 30 seconds to 4
minutes.
o Be able to explain the most challenging parts of the poster, especially the
figures and tables.

Prepared by Health Sciences Library (Revised 9/10) © University of Cincinnati
5
At the Poster Session
Remember to adjust to the audience’s changing needs—some will want
explanations of the poster and others will just want to look for a short time.
Ask your viewers what they want to know about before explaining the poster. This
will save time and focus on what they really want to know and discuss.
Spend extra time going over and explaining figures and tables.
Listen to feedback.
Remember to interact and network with people.
Relax and have a good time!
Useful Websites
Purrington, Colin 2015. Designing conference posters.
http://colinpurrington.com/tips/poster-design
University of Buffalo. Designing Effective Poster Presentations.
http://libweb.lib.buffalo.edu/guide/guide.asp?ID=155
UC Poster Templates. http://healthnews.uc.edu/branding/
Selected Books
Briscoe, M. H. (1996). Preparing scientific illustrations: A guide to better posters,
presentations, and publications (2nd ed.). New York: Springer.
Gosling, P. J. (1999). Scientist's guide to poster presentations. New York: Kluwer
Academic/Plenum Pub.
Nicol, A. A. M., & Pexman, P. M. (2003). Displaying your findings: A practical guide for
creating figures, posters, and presentations (1st ed.). Washington, DC: American
Psychological Association.
Orchard, D. M., & American Association of Petroleum Geologists. (2000). Figuratively
speaking in the computer age: Techniques for preparing and delivering presentations.
Tulsa, Okla.: American Association of Petroleum Geologists : Distributed by AAPG
Bookstore.
Prepared by Health Sciences Library (Revised 9/10) © University of Cincinnati
6
Creating a Poster in PowerPoint 2010
1. A. If using a template (http://healthnews.uc.edu/branding/):
a. Go to View Tab | Slide Master
b. Click on any unwanted features on the Slide Master and press “delete”
c. Select the logo or border with logo and “cut” it out (Ctrl-X)
d. Go to Slide Master Tab | Page Setup Group | Page Setup and then choose
Custom from the “Slides sized for” box. You might select a height of 12 inches
and a width of 18 inches. (Blown up for printing, this creates a 4x6 poster for
the printer at UC’s Art & Design Services).
e. Paste (Ctrl-V) the logo or border back in (cutting and pasting the logo retains
its proper proportions).
f. If you want to shrink the logo, hold the shift key down while dragging the
logo smaller to retain its proportions.
g. Go to View Tab | Presentation Views Group and choose normal.
1. B. If using a new, blank slide: Go to Design Tab | Page Setup, then choose Custom
from the Slides Sized For box. Important: Find out the size values required to print the
desired final finished size on the poster printer. You might select a height of 12 inches
and a width of 18 inches. (Blown up for printing, this creates a 4x6 poster for the
printer at UC’s Art & Design Services). The width can be as long as 56 inches, the
longest length PowerPoint can get…otherwise you have to design proportionally. See
the “Tips” section for details. Be sure the slide is oriented Landscape. Then, OK.
2. Under Home Tab | Slides Group | Layout and click on blank.
3. Close task pane to left for maximum workspace. Set zoom level to approximately
50% or whatever allows you to view an appropriate amount of the slide on which
you are working.
4. You can make your ruler available so you can see where you are adding text boxes.
View Tab | Show/Hide Group | check box for Ruler.
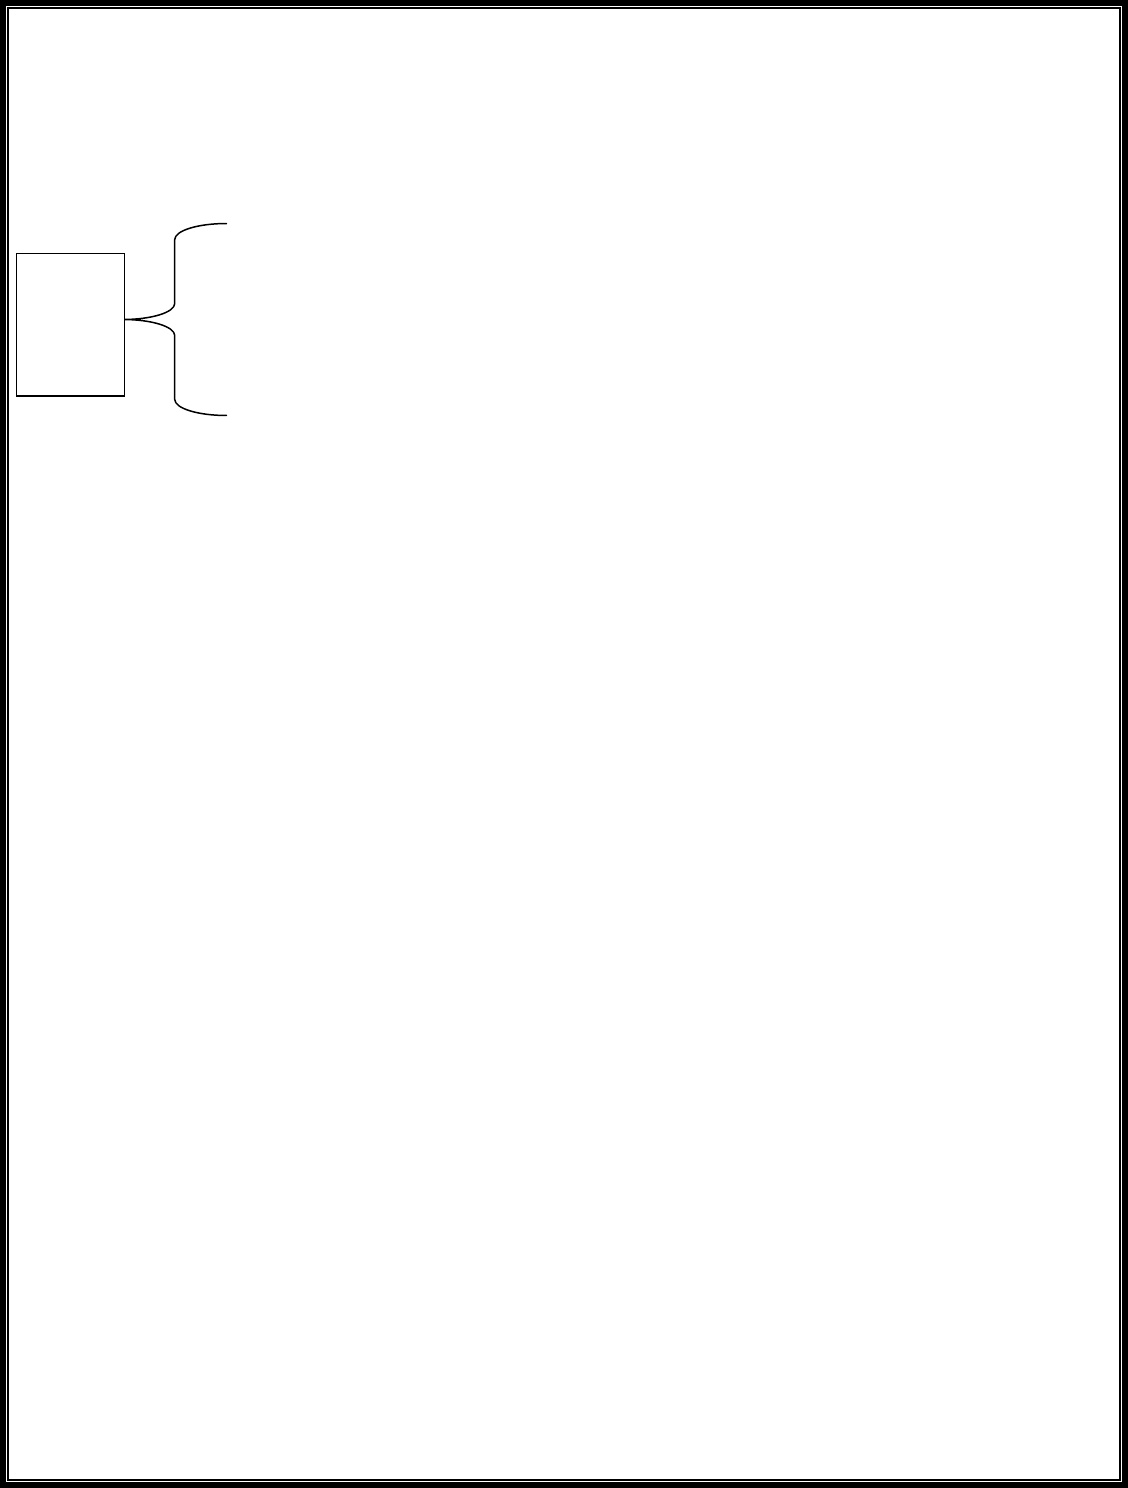
5. TITLE: Insert Tab | Text Group | click on Text Box. Insert the Title of your
presentation across the top of the slide. Stretch box to opposite sides, then center
text with Home Tab | Paragraph Group | choose Center icon. Add the author's
names and affiliations. Your title should be quite large. As a starting point, make the
font no less than 30 points if working in a 12X18 format (25% proportion of 48 x
72). The general guideline is to concentrate less on exact font sizes and more on
fitting the text on the page without making it too crowded.
6. TEXT BOX FORMATTING: This step will let you create placeholders for text. This
way you can make a layout of your poster without having every word of text
prepared. Then you can go back when you are ready and add the text. Create a text
box under the title box using Shapes (Insert Tab | Illustrations Group | Shapes and
click on the rectangle shape). Use your first text box to set up formatting choices.
Do this
only if
you need
to change
the page
size

Prepared by Health Sciences Library (Revised 9/10) © University of Cincinnati
7
You can choose text box size (Drawing Tools/Format Tab | Size Group) and add a
border (Drawing Tools/Format Tab | Shape Styles | Shape Outline) or shading
(Drawing Tools/Format Tab | Shape Styles | Shape Fill). To change the text’s
vertical alignment, go to Drawing Tools/Format Tab | Shape Styles Group and click
on the dialog box launcher (the arrow at the bottom right of this group). In the
launcher, choose Text Box and vertical alignment option. Text should be aligned on
the top. Also, choose the desired text font, size, and color. Once formatting has been
set-up, select this text box and copy & paste to create additional ones.
7. LAYOUT: Layout the text boxes where you want them. For layout, you can use the
ruler and gridlines (go to View Tab | Show/Hide Group | and check Ruler and/or
Gridlines). For a more precise way, use the alignment tool to let the computer
automatically arrange the boxes. To line up and arrange text boxes, you can select
the text boxes (Select | Ctrl Click). Then on the Drawing Tools/Format Tab |
Arrange Group | Align | choose Align Top and/or Distribute Horizontally.
8. Once you have your text box placeholders laid out you can start adding the real
information to the text boxes. When you are all finished, you can delete the line
around the text boxes, add color to the headings and/or change the font size and
type.
9. IMAGES: To add an image, go to the Insert Tab | Illustrations Group |Choose Picture
and find the file, then, Insert. Or, you can use Copy and Paste to import Excel
graphs. Select the graph in the original Excel file, then Edit | Copy, click on the
PowerPoint slide, then Edit | Paste. Drag the image to appropriate place. Note: Do
NOT copy and paste images from the web. They do not have a high enough
resolution. Do NOT enlarge any image, it will get blurry (other than Excel graphs
and Microsoft clipart). Remember that all images must have a resolution of at least
300dpi (with the exception of Excel graphs and Microsoft clipart. Those two types
of graphics should not give you problems).
10. Lines, boxes and arrows can be inserted using the Insert Tab | Illustrations Group |
Shapes.
11. To print the final version on a single piece of 8.5 x 11" paper to check it over before
doing the final large size, go to the Office Button | Print | Print what: Slides, and click
the check box to Scale to fit paper and Frame Slides for a border around the poster
(good for a cut line around final poster) . OK.
12. Even though your computer screen may not be 4 x 6 feet, use your PowerPoint zoom
tool to zoom in and see how your poster will print. This is especially helpful if you
really want to see how the spacing between columns looks, how big fonts will be,
etc. If you created a poster in 50% proportion, zoom in 200%, or if you created your
poster in 25% proportion, zoom in 400%. You of course won’t be able to see the
whole poster at once, but it is helpful in getting a general idea for size if you are
concerned about it.

Information and costs as of 2/16
Art & Design Services
Poster Printing Information Sheet
http://healthnews.uc.edu/communications/artdesign/?/posters/
Costs
Printing: The base cost for wide format printing is $4.11 per square foot, plus a minimum
production charge (for time spent) of $27.50. This means a poster measuring 4x8 feet (32 square
feet) would cost $159.02 ($27.50 + [32 x $4.11]) to print. Similarly, a 4x6 foot poster (24 square
feet) would cost $126.14 ($27.50 + [24 x $4.11]).
Polyester Fabric Media: The advantage of polyester fabric media that your poster can be folded
and stored in your briefcase or other carry-on instead of being rolled up and placed in a tube that
will need to be either checked or fit into overhead storage. The cost of this media is $4.97 per
square foot. Contact Art & Design staff for more information.
Laminating: If you choose to have your poster laminated (which is recommended for the
protection of the poster), there will be a charge of $1.85 per square foot. This means your 4x6
poster will cost $44.40 (24 x $1.85) to laminate, or your 4x8 poster will cost $59.20 (32 x $1.85).
Other Charges
Proof Copies: It is usually good to see a "proof” copy of your poster before it is printed. A proof is a
small print out of what your poster will look like when completed. When you receive a proof, you
will be able to check for typos and layout errors. Proof copies are generally full color 11x17 inch
prints. Some jobs require wide format print, which costs $4.11 per square foot.
Production Charge: For any poster printed, there will be a minimum production charge of $27.50.
This represents a half-hour of our production fee, and covers the time it takes to trim out your
poster after it has been printed/laminated. If you want us to do the poster layout, there will also be
a production charge for this service. Most posters can be set up in one to 1.5 hours. On average,
production fees for most poster layouts are between $55 and $82.50.
Tubes: Art & Design Services stocks one type of container, which will easily hold a rolled-up poster
up to 4 feet high. The charge for a cylindrical tube is $5.17.
What They Need From You
Poster Needs to be Designed: If you want them to design your poster, simply e-mail your content
and images to art.de[email protected], or drop off your data on a CD, DVD or flash drive to our office,
Health Professions Building room G-44. Text can be in Microsoft Word or PowerPoint – and in
either PC or Macintosh formats. Images should be submitted in high resolution (at least 300 dpi).
Poster Already Designed: If your poster has already been designed, just e-mail your file
to art.design@uc.edu. Please note, the UC e-mail attachment limit is approximately 25MB. Larger
files can be dropped off to their office, Health Professions building room G-44. They use Adobe

Information and costs as of 2/16
InDesign to create posters due to its adaptability with their printing system. You may use other
programs if you prefer.
Please note: It’s important that all the files that you used to design your poster are saved on the
same disk as the master file. This includes photos and graphics. This will help save time and money.
Also, they often encounter problems with files set up in Microsoft Publisher. If you don’t feel
comfortable using any other program, please contact them before your begin your poster design, so
they can help you avoid time-consuming (and costly) problems.
Turnaround
Ready to Print Poster: Posters that are ready to be printed (no layout or design changes), can
usually be turned around in three business days. During this time, you will be able to proof your
poster for any corrections.
Posters Needing Design Work: If they are designing your poster, the turnaround is usually
between five and seven days. During this time, you will be able to proof your poster for any
corrections.
Rush Charges
If work needs to be turned around in less than the time allotted per the project (three business days
for ready files; five to seven business days for posters needing designed), there will be a priority
charge applied. For a two-day turnaround, the priority charge will be 30 percent of the total amount
your usual charges. For next day turnaround, the priority charge will be 50 percent. Same-day
priority charges for jobs that are ready to print are 100 percent. Same-day priority jobs do not get
proofs and must be submitted by 9 a.m. for 5 p.m. completion.
