Quick Start Guide
08/80279/0-2 ISSUE: 2 Series: A
This guide is for quick reference only.
Please refer to the operating instructions for further information.
• The outer case of the heater will be cooler to touch than a conventional storage heater. This
is because less heat is ‘lost’ through the case, making more heat available from the fan
outlet when needed.
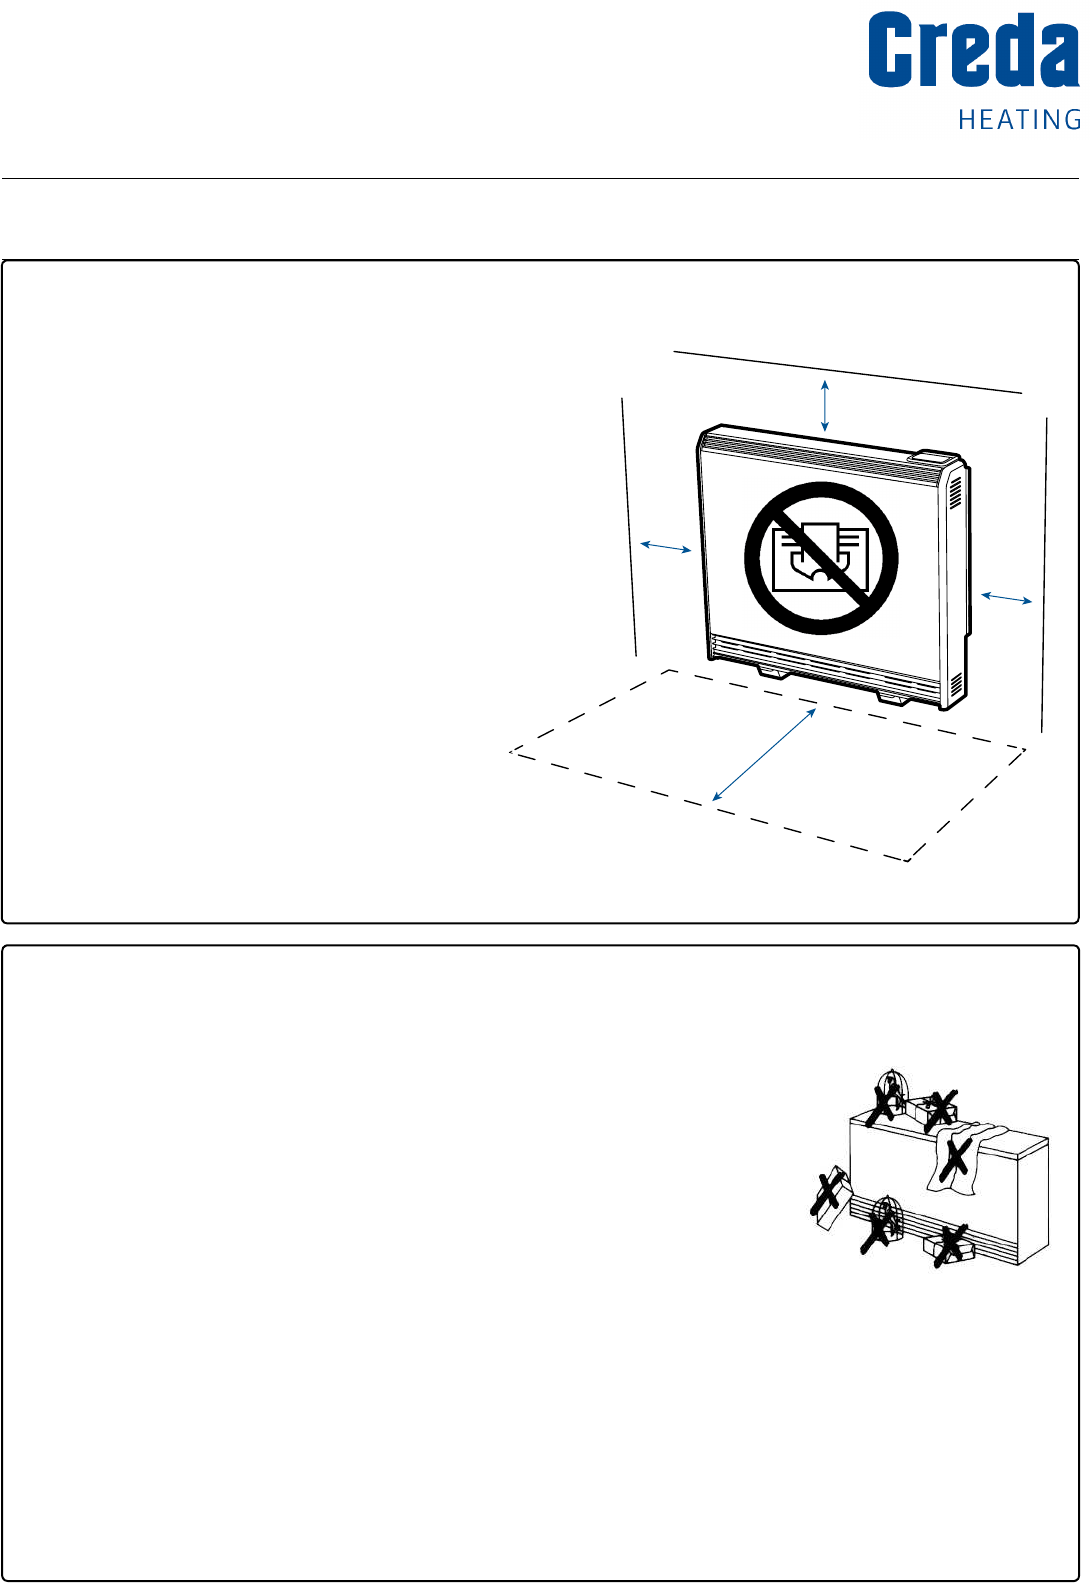
• Nothing may be placed in the 300mm (1 foot) in front of the heater
at any time. This is to avoid items coming into contact with the
grilles and the heated air which leaves it. Blocking some or all of
this area could represent a fi re hazard.
• You do not need to decide how much heat to store. Simply set the timer mode and the
temperature to what suits you and leave the heater to meet your requirements.
• Ensure that both supply switches next to the heater are turned on. During the summer
when no heat is required, both wall switches can be turned off. Remember to turn both of
these back on in Autumn when heat is required again.
TSRE Storage Heater
OVERHEATING WARNING
WARNING - In order to avoid
overheating, do not cover or obstruct
the heater.
Do not place material or garments on
the heater, or obstruct the air circulation
around the heater, for instance by
curtains or furniture, as this could cause
overheating and a fi re risk.
NEVER cover or obstruct in any way the
heat outlet slots at the top of the heater
or the air outlet slots in the base of the
heater.
Do not place objects within 300mm of the
front of the heater and 150mm either side.
250 mm
300 mm
150 mm
150 mm
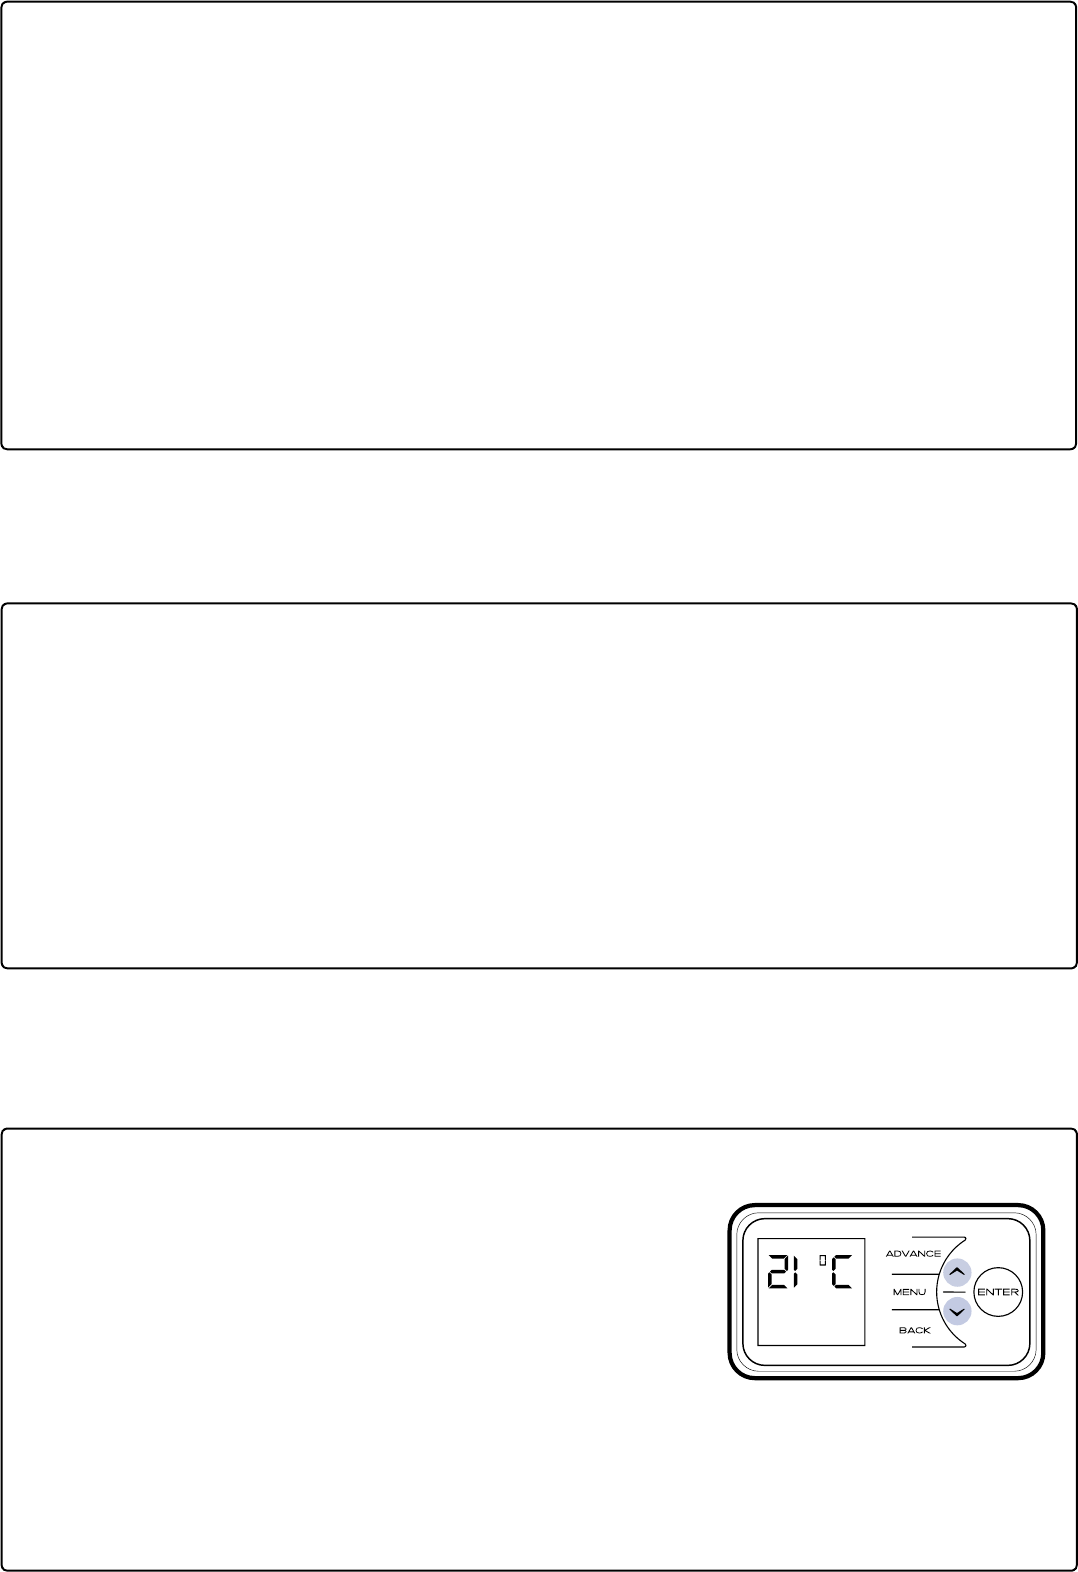
Set the temperature
The temperature shown on the display is the room temperature
setpoint. This is the temperature that the heater will maintain during
the ‘Comfort On’ periods. If the room temperature is above this
temperature then the fan will not operate.
The heater leaves the factory with this temperature set at 21°C
which represents a typical, comfortable room temperature.
If you require a different room temperature use the Up and Down
buttons until the display shows the temperature you require.
YOU DO NOT NEED TO TURN THE TEMPERATURE DOWN OVERNIGHT.
How does the heater control work?
The heater control allows you to choose when you want the heating to be on, and at what
temperature. To deliver the required heat a low noise fan pushes stored heat from the core into the
room.
The periods during which the heater is providing heat are called ‘Comfort On’ (shown at the bottom
of the screen). Outside of these periods the heater will not deliver heat and these periods are called
‘Comfort Off ’. During the ‘Comfort On’ periods the fan will run to maintain the temperature on the
screen. During the ‘Comfort Off ’ periods it will not.
Note: there is a delay of up to a minute on the fan operation when switching to ‘Comfort
On’ or ‘Comfort off ’. This is normal and does not represent a fault.
Set the time
The time and date are set in the factory and should not need to be amended, however to check
that they are correct press Menu, then press the Enter button with Time / Date highlighted. Use
the Up and Down buttons until the correct value is shown, then press Enter button to confi rm and
move on to the next value. Repeat until all details are correct and the main menu screen is showing
again, then press Back.
The time is automatically adjusted in Spring and Autumn at the changes between Greenwich Mean
Time (GMT) and British Summer Time (BST), the heater must be switched on for this to happen.
It is recommended to check the time every couple of months and adjust if necessary.
User Ti mer
Comfo rt On
Advance
Sometimes you may need to change the way you use your heating temporarily. This is achieved by
using the Advance function. The Advance function allows you to begin the next ‘Comfort’ mode early.
If the heater is in ‘Comfort Off ’
mode and you want heat – press
the Advance button. If the heater
is in ‘Comfort On’ mode and you
don’t want heat, press the Advance
button. The heater’s change mode
will go off until the beginning of the next ‘Comfort’ period, then go back to the timed heating periods.
Which timer mode is best for me?
The heater leaves the factory set in User Timer mode. If you are in during the day then you should
use this mode. This mode will give you four periods of heating split throughout the day. If you are
out during the day and only require heat in the mornings and evenings then Out All Day mode will
suit your lifestyle.
If you are away for an extended period then you can use the Holiday mode. This allows you to
reduce the heating during the period that you are away, reverting to the previously selected mode on
the day of your return.
Please refer to the operating instructions for information on how to modify the programmed times.
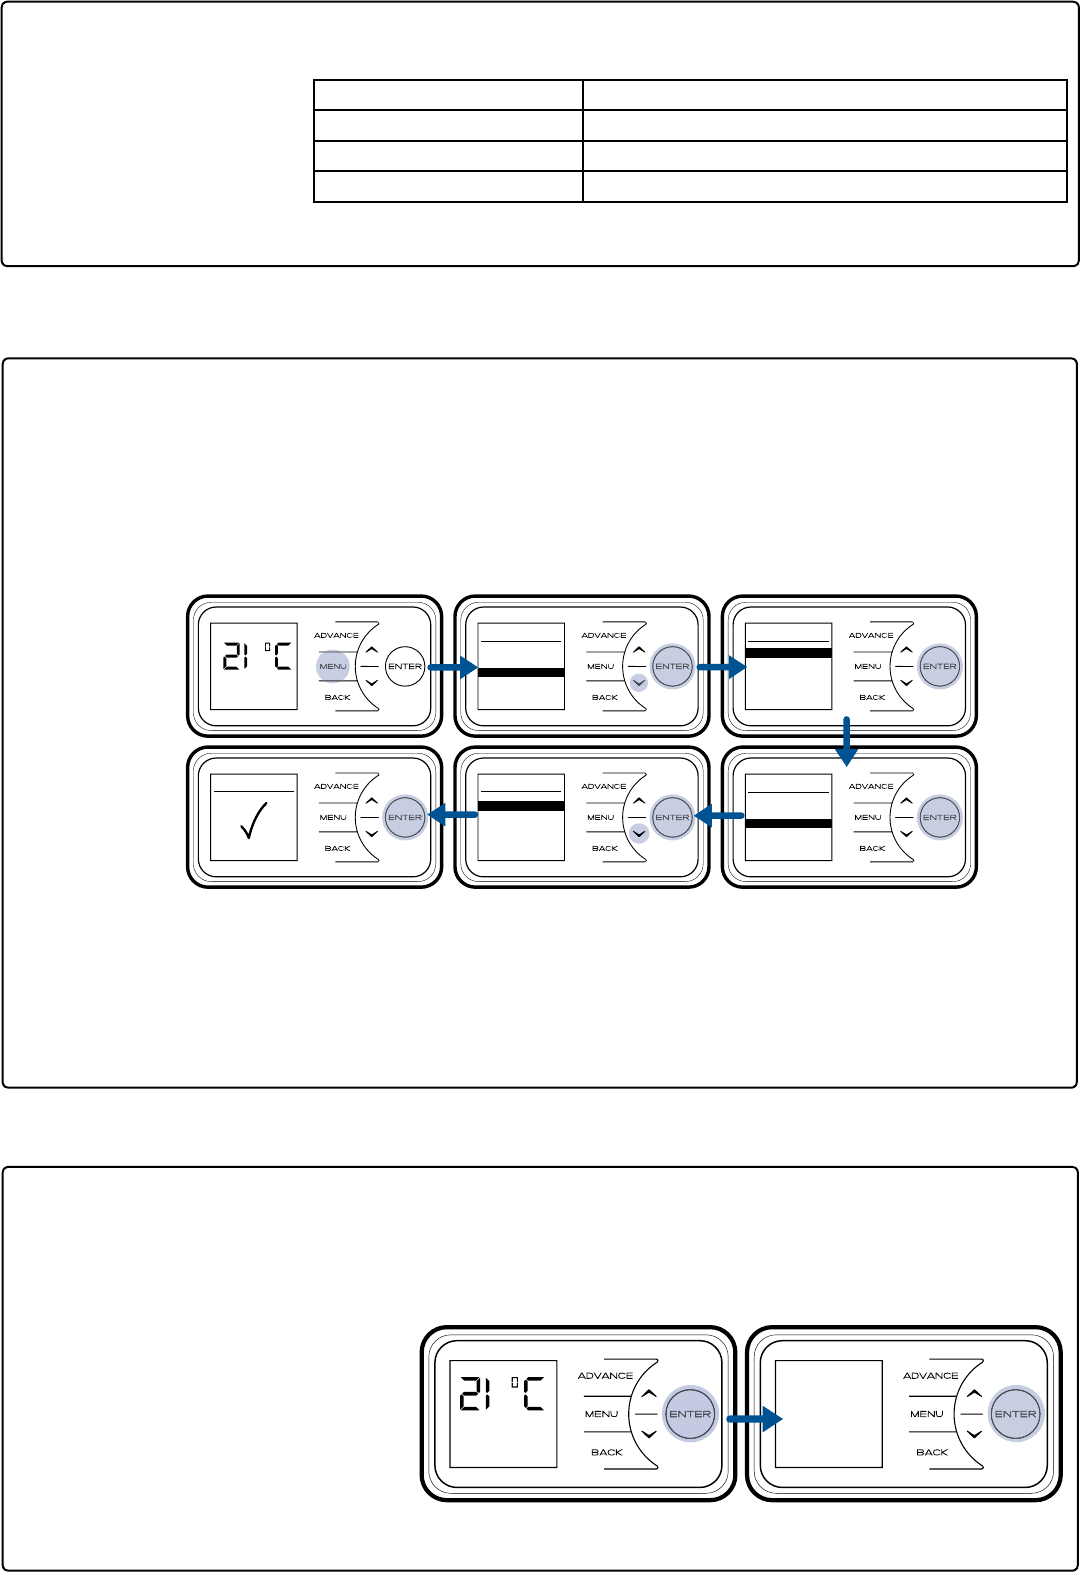
Set the timer mode
Your heater comes pre-
programmed with three
timer modes. User Timer
is default.
These modes defi ne the periods when the heater will operate in ‘Comfort On’ mode.
Timer Mode Description
User Timer (factory default) 11 hours heating per day in four periods
Out All Day 6.5 hours heating per day in two periods
Holiday Set the temperature and date of return from holidays
The three modes are:
User Ti mer
Comfo rt On
Ad va nc e
07 :4 1
Co mf or t Off
Ne xt o n at
17 :0 0
Ma i n Me n u
Da t e/Ti m e
Mo d e
Op t ions
Mo d e
Ti m er
Bo o st
Ti m er M o de
Us e r Ti m er
Ou t All Day
Ho l iday
Ou t All Day
Se l ect
Pre v iew
Mo d ify
Ou t All Day
Se l ecte d
Us er Tim e r
Co mfo rt O n

Boost
A boost element
controlled by the
electronic thermostat
is provided if additional
room heating is
required, for example,
due to unusually cold
weather. You can select how long the boost will run for, from one to three hours. Once the boost has
run for the selected time it will automatically switch off.
Auto Boost will automatically use the boost element to maintain the set temperature during ‘Comfort
On’ periods.
Note: The boost element will use Off-peak electricity if available otherwise it will use Peak
rate electricity. Use of the boost element could increase running costs.
Activating the Child Lock
In cases where unauthorised persons may tamper with
the control settings it is possible to set a tamper-proof
feature at the time of installation, by pressing and holding
the Back button and the Enter simultaneously for three
seconds, ‘Child Lock’ will appear on the screen, repeat to
reverse. See the Operating Instructions for further details.
Ma i n Me n u
Da t e/Ti m e
Mo d e
Op t ions
On e hou r boo s t
Se l ecte d
Us er Tim e r
Co mfo rt O n
Mo d e
Ti m er
Bo o st
Bo o st M e nu
No Boos t
1 h our
2 h our
3 h our
Au t oboo s t
Se t ting s
Bo os t 1hr
Us er T imer
Co mf or t On
Child Lo c k
Creda Heating, a division of Glen Dimplex Heating and Ventilation, Millbrook House, Hedge End, Southampton, SO30 2DF
For further assistance please contact Customer Services on 0344 879 3588 or go to www.credaheating.co.uk
