Page 1
Cutting and Pasting Graphs
from Excel to Word
These instructions will show you how to copy a graph from Excel to Word. This instruction
sheet was created using Excel 2007 and Word 2007. However, these instructions should work
on earlier versions of Word and Excel, although the selection border and context menus may
look a little different. Copying the graphs from Excel to Word is the best way to include them in
your paper.
1. Make sure that both the Excel spreadsheet that contains your graph, and the Word document
that contains your research paper are open.
2. Make sure that the spreadsheet containing the graph that you want to copy is your active
document.
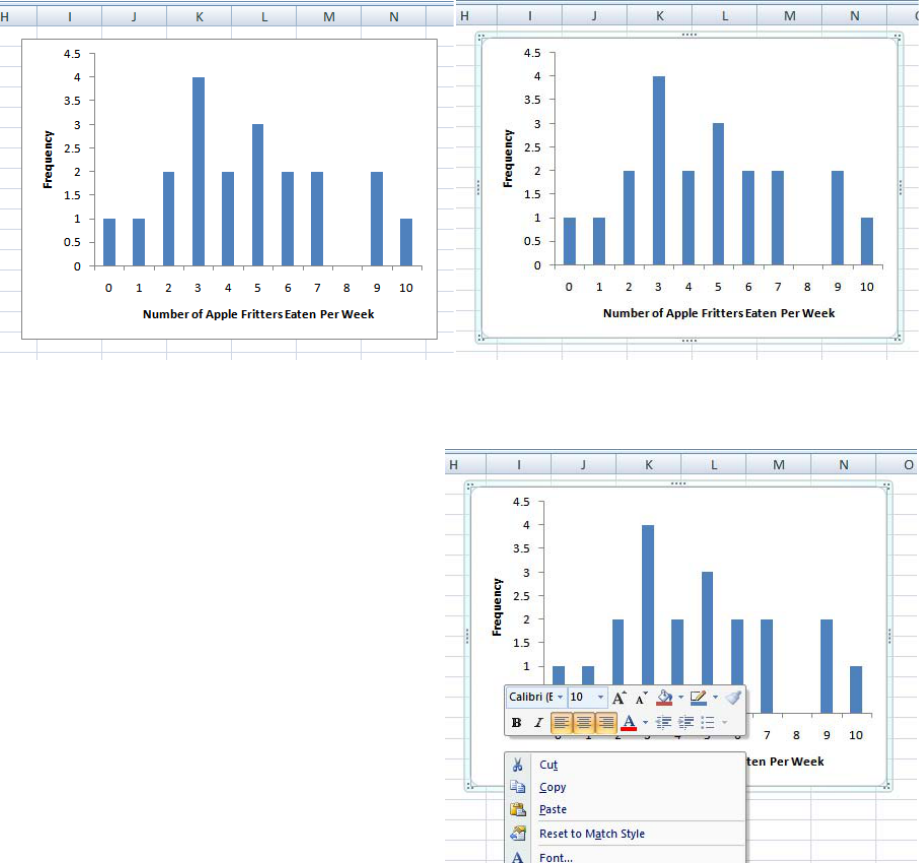
3. Left Click on the graph to select it. Make sure that the entire graph and only the graph is
selected as illustrated:
Before graph selection in Excel After graph selection in Excel
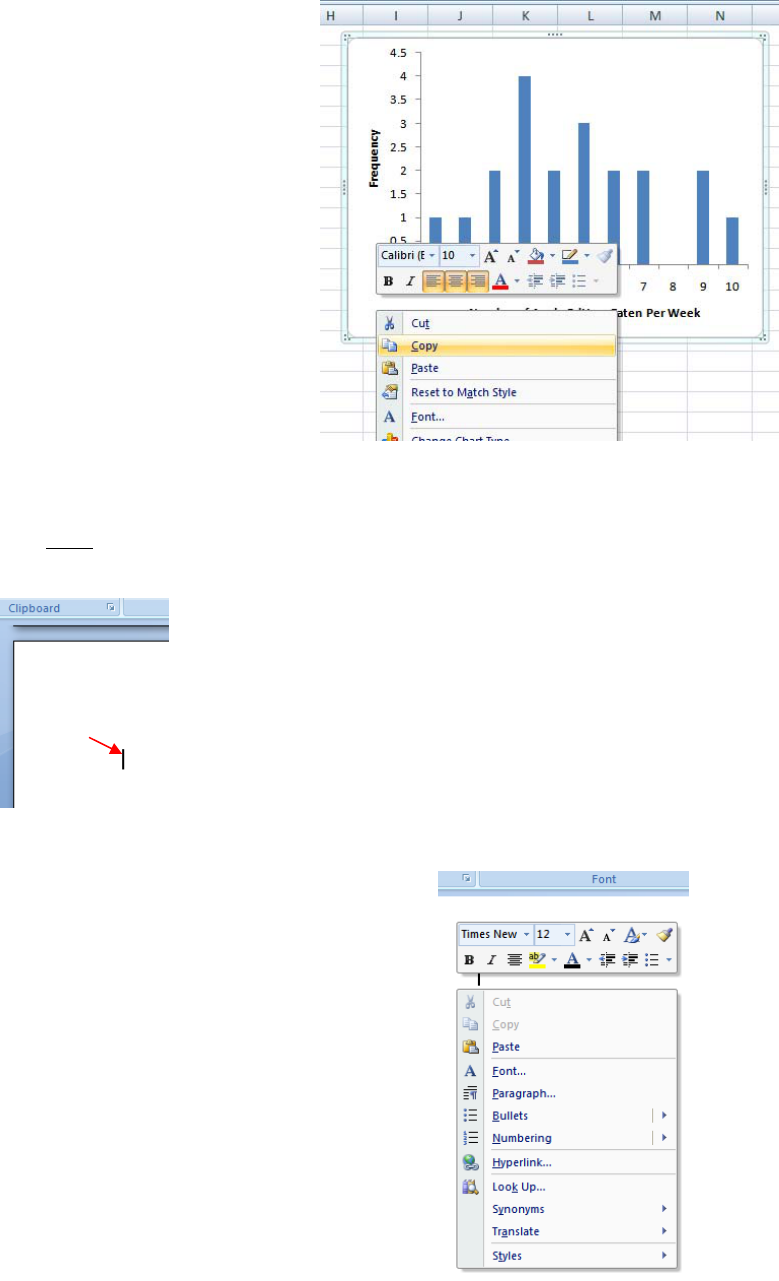
4. Right Click on the selected graph and a
context menu should appear:
Page 2
5. Select Copy from the context menu choices:
6. Switch to your Word document.
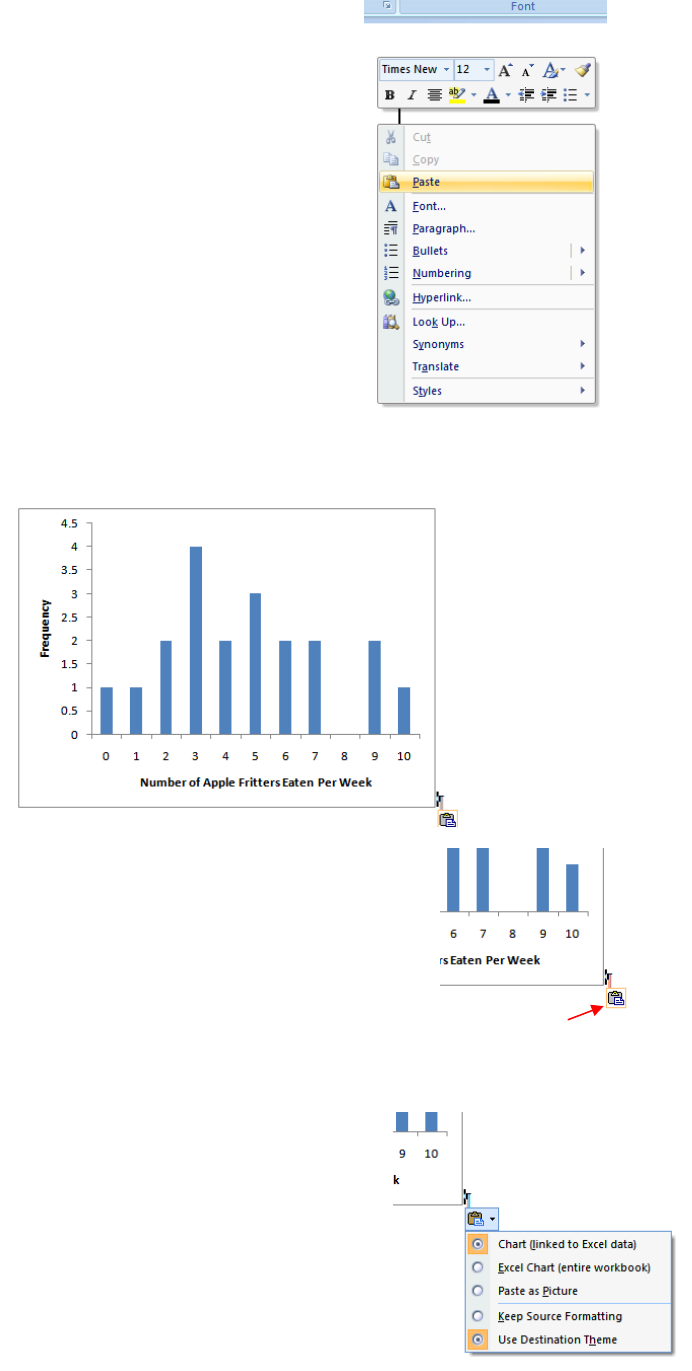
7. Make sure that the caret is positioned on the page where you would like your graph to
appear.
Did you know?
Cursor: The arrow that marks the position of
the mouse.
Caret: The vertical blinking line that marks
the position where any new text, table, chart,
or other word object will appear.
caret
8. Right Click near the caret and a pop-up context menu
should appear:
Page 3
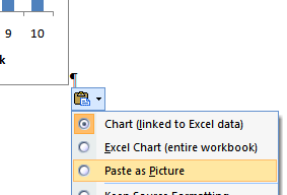
9. Select Paste from the context menu choices:
10. Your graph should appear where the caret was located.
11. Locate a small box containing a clipboard in the lower right-
hand corner of the pasted image of your graph:
cli
p
board
12. Left Click on the small box containing a clipboard.
A small menu similar to the this should appear:
Page 4
13. Select Paste As Picture:
14. Your graph should now be copied. However, this is only a picture of your graph and is not
editable. If you need to make changes to your graph then you must delete this picture, make
necessary changes to the original graph in Excel, and then repeat this procedure.
15. Save your Word document.
16. Save your Excel spreadsheet if necessary.
