
www.ucd.ie/it
Introduction
The Avaya Workplace Softphone is an application that can be installed on your Windows PC or
Apple Mac. It allows UCD staff to make and receive voice calls, both internally to other staff
extensions and to external numbers on the UCD voice system via a software application. This
allows staff to have their UCD phone number with them no matter where they are located. This
software is available for staff to download from Software Downloads in UCD Connect.
Compatibility
This version of Avaya Workplace is compatible with Apple MacOS 10.x and Windows 10
Enterprise and Professional 32- and 64-bit operating systems. You will need to install the Avaya
Workplace softphone client before proceeding.
University College Dublin
IT Services - Seirbhísí TF
Avaya Workplace Softphone
User Guide
www.ucd.ie/it
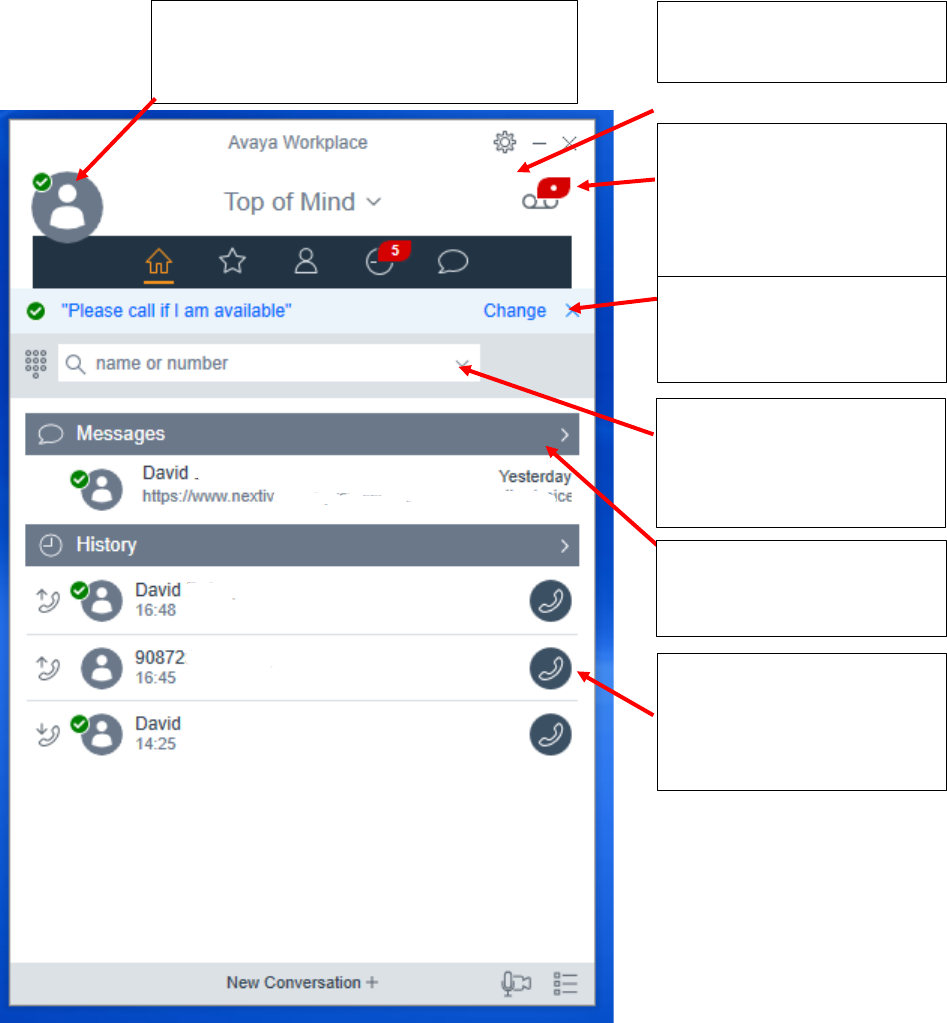
Open Avaya Workplace client
1: Once downloaded the Avaya Workplace client will open.
5: This is where a user can
search for a listed person or
dial a number.
3: This indicates there is a
voicemail to hear the voice
message click this icon or
dial 2000.
7: Users call history.
4: This is the user’s presence
message it can be
configured by the user.
6: This is the users IM
messages.
1: This indicates a person’s presence, it can
be set by the users to available, busy, away,
do not disturb, out of the office or offline.
2: This is the users’ settings
option.
University College Dublin
IT Services - Seirbhísí TF
2
www.ucd.ie/it
Quick Reference Guide
QUICK REFERENCE
GUIDE
1
Presence and Incoming Call Features
* Select presence feature including Available,
Busy, Away, Do not disturb, Out of office, and
Offline
* Select incoming call features including Call
Forwarding, Send all Calls, and EC500
(must be programmed by System
Administrator)
* Sign out of application
2
Settings
* Changing settings should be left to a campus
Avaya expert or as instructed by one
3
Message Waiting Indicator and Voice Mail Dial-In
*Turns red if there is a new voice message
*Select to access voice mail system
4
Presence Message
* This is the user’s presence message it can be
configured by the user
5
Dial Pad
* Manually enter phone number
* Place call using ‘Last called’ icon
* Search Directory by typing name of person
6
Instant Messaging
• Allows users to send each other instant
messages
7
Most recent call history
* Select the history bar to view more
University College Dublin
IT Services - Seirbhísí TF
3
www.ucd.ie/it
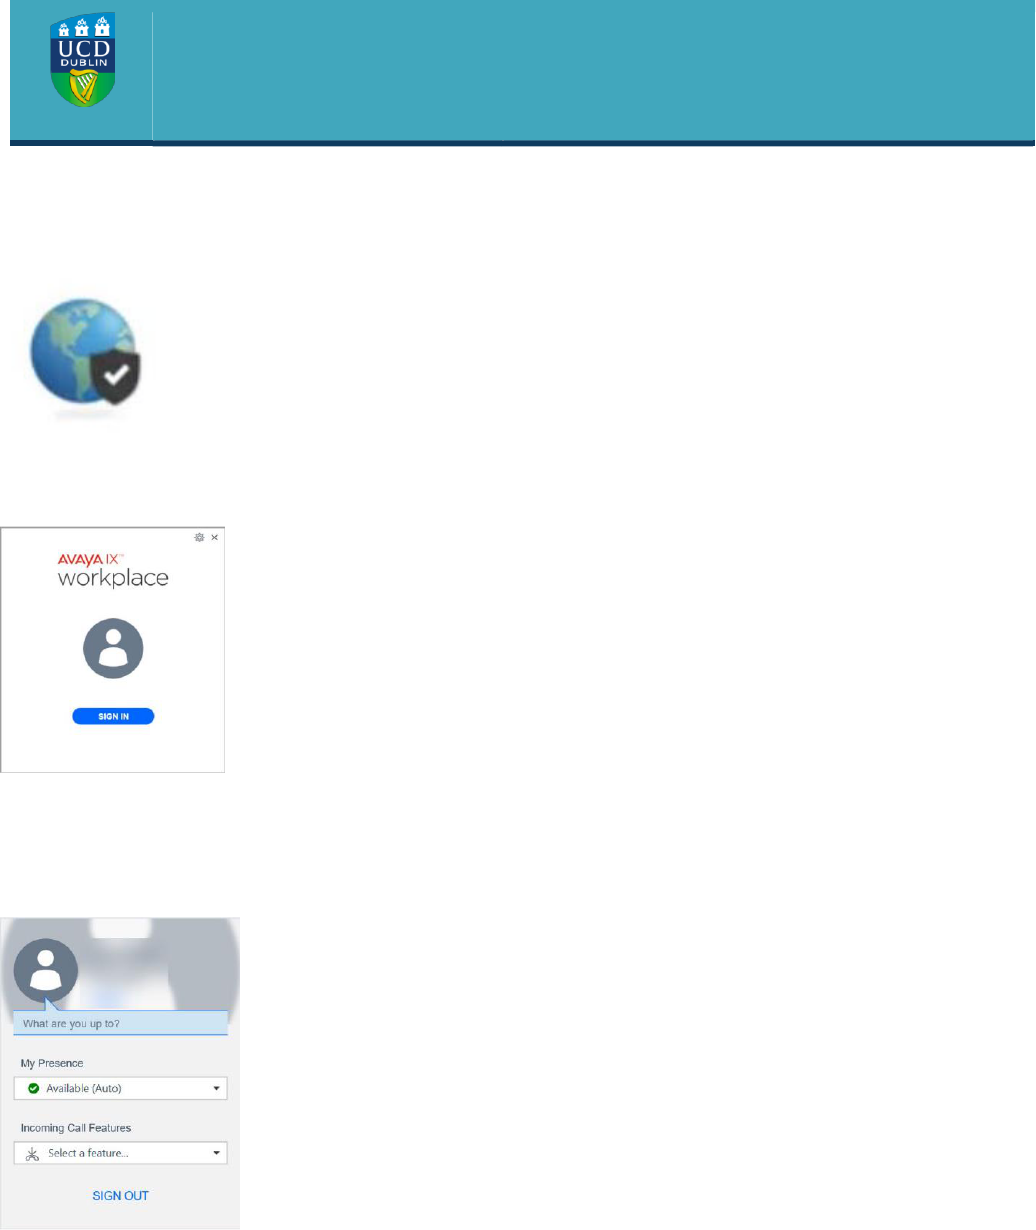
Turning Avaya IX Workplace on and off
Turning on IX Workplace
The Avaya IX Workplace application will automatically start working unless you have
previously signed out of it. To sign back in to the IX Workplace application, open the application and select
Sign In.
Turning off IX Workplace
We recommend that when you want to stop using IX Workplace that you sign out of the application. When
using the desktop application, select the round profile icon in the top left and then select Sign Out.
Making Audio Calls
In the Avaya IX Workplace Client, you can make an audio call from:
• Dial Pad
• Top of Mind
• Contacts and Favourites
• Call History
University College Dublin
IT Services - Seirbhísí TF
4
www.ucd.ie/it
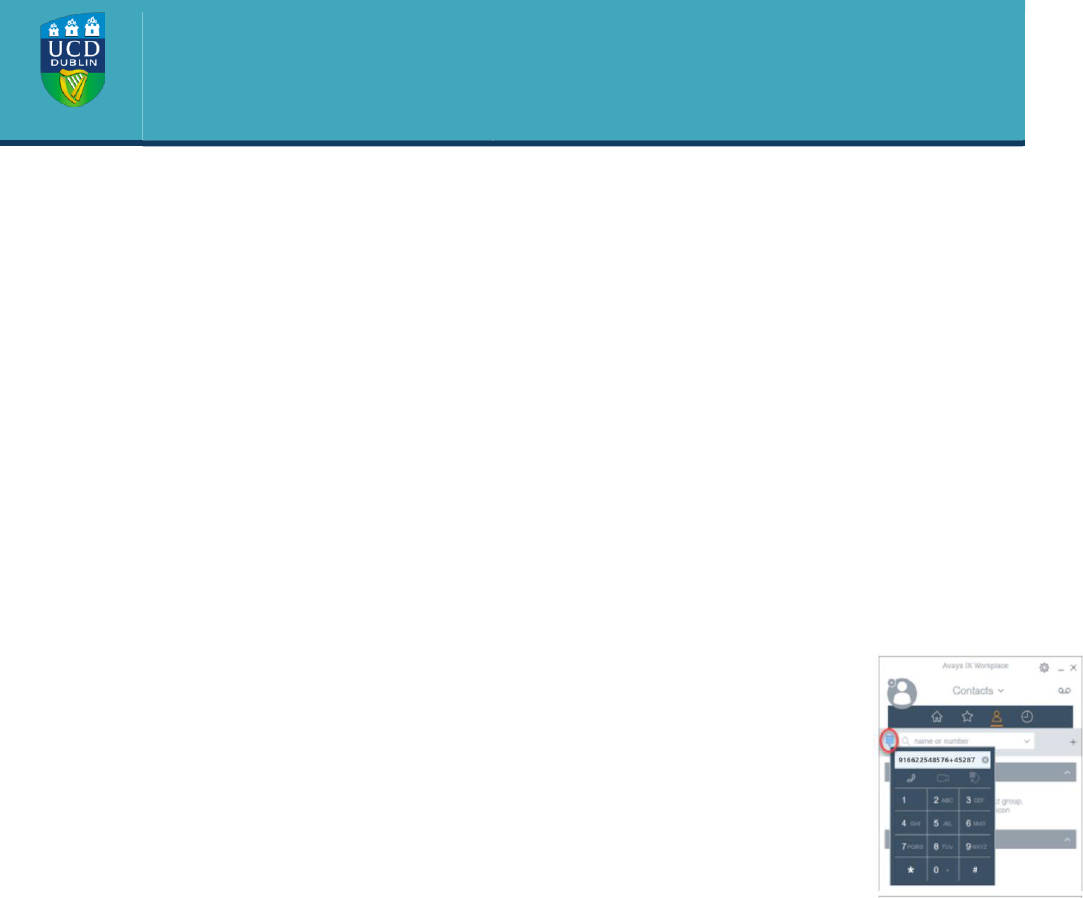
How to make an audio call
1. To make a call:
• Select the Phone icon – use the dial pad to enter the number to call.
• Type a person’s name – use the dial pad to enter the name of the person to call from the Enterprise
directory.
• From your contact or favourites list
o Select the contact person or number.
• From call history
o Select an icon next to the previous call.
Entering a phone number
When entering a phone number to call, enter the number exactly as you would if you were
placing the call from your office desk phone.
To make a call to a phone number on campus, dial the person’s extension number.
To make a call to a local or long-distance call, dial 9 and then the phone number.
Working with Call History
Viewing call history
1. Go to the History screen.
2. Filter the call history using the following options:
• All History
• Missed Calls
• Outgoing Calls
• Incoming Calls
3. To further filter the call history, select the filter icon
4. Select or clear the following:
• Your History: To access personal history logs.
Deleting all call history
1. Go to the History screen.
2. Filter the call history and select Delete All History.
3. Optional: If available in the confirmation dialog box, select Delete.
University College Dublin
IT Services - Seirbhísí TF
5
www.ucd.ie/it
Working with Contacts
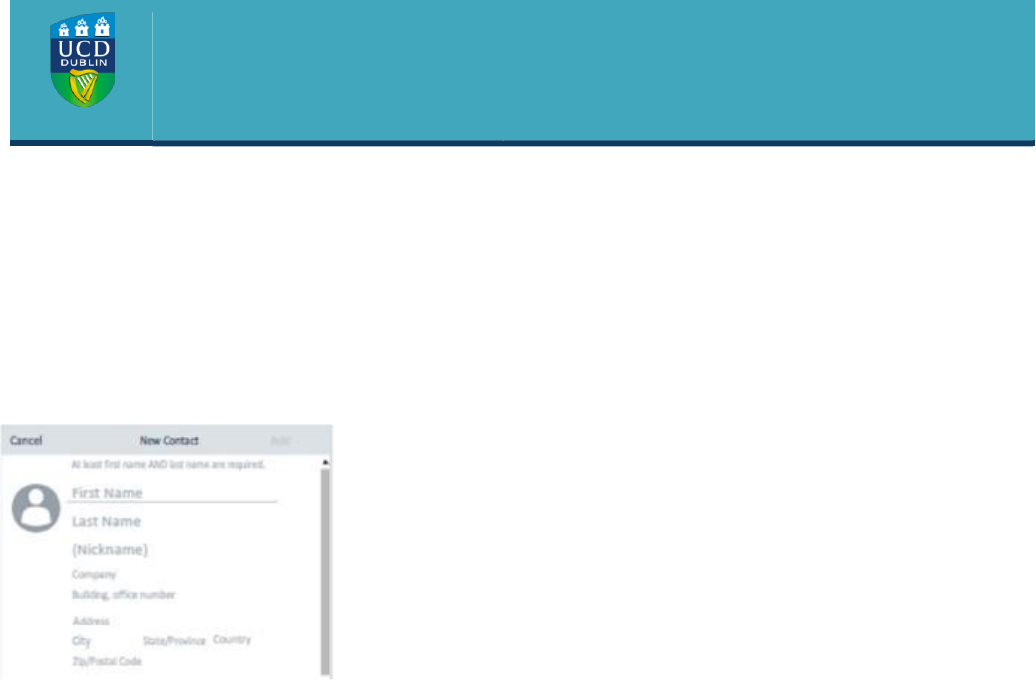
Creating a new contact
Use this procedure to add contacts to your Workplace Contacts list.
1. Go to the Contacts screen.
2. Select the plus symbol. • On desktop clients:
3. Enter the appropriate values in the fields.
• Enter the first name and last name.
• Enter an email address or phone number or both.
• Enter only one work email address.
4. Save the changes.
5. (Optional) To update the contact details, select the contact, select Edit, and perform the changes.
Deleting a contact
1. Go to the Contacts screen.
2. Filter the contacts using the Workplace Contacts option.
3. Locate the contact that you want to delete.
4. Select the contact.
5. Do the following
On desktop clients: Select and then select Remove Contact.
6. Confirm your selection.
